Transforming your furniture with a fresh coat of paint can breathe new life into any space.
Whether you’re looking to revamp an old piece or create a statement item, the process involves several key steps to ensure a beautiful and lasting finish.
- Gather supplies and prep your workspace.
- Choose the right paint and techniques.
- Apply the paint for a beautiful finish.
This guide covers everything you need to know on how to paint furniture.
Plus, tips for those professional-looking finishing touches will make your furniture truly stand out.
Get ready to unleash your creativity!
Preparation for Painting
Preparation for painting is, without a doubt, the cornerstone of any DIY furniture endeavour. Whether one is upcycling a charming vintage find or refinishing a sleek modern table, the preliminary steps taken before that fateful first stroke of paint can either elevate the project to masterpiece status or plunge it into the abyss of mediocrity.
From assembling essential supplies—brushes, rollers, and protective gear—to ensuring a pristine workspace, the right preparation lays the groundwork for a seamless painting experience. It’s not merely about selecting the perfect paint colours; it’s about establishing a solid foundation for a true work of art.
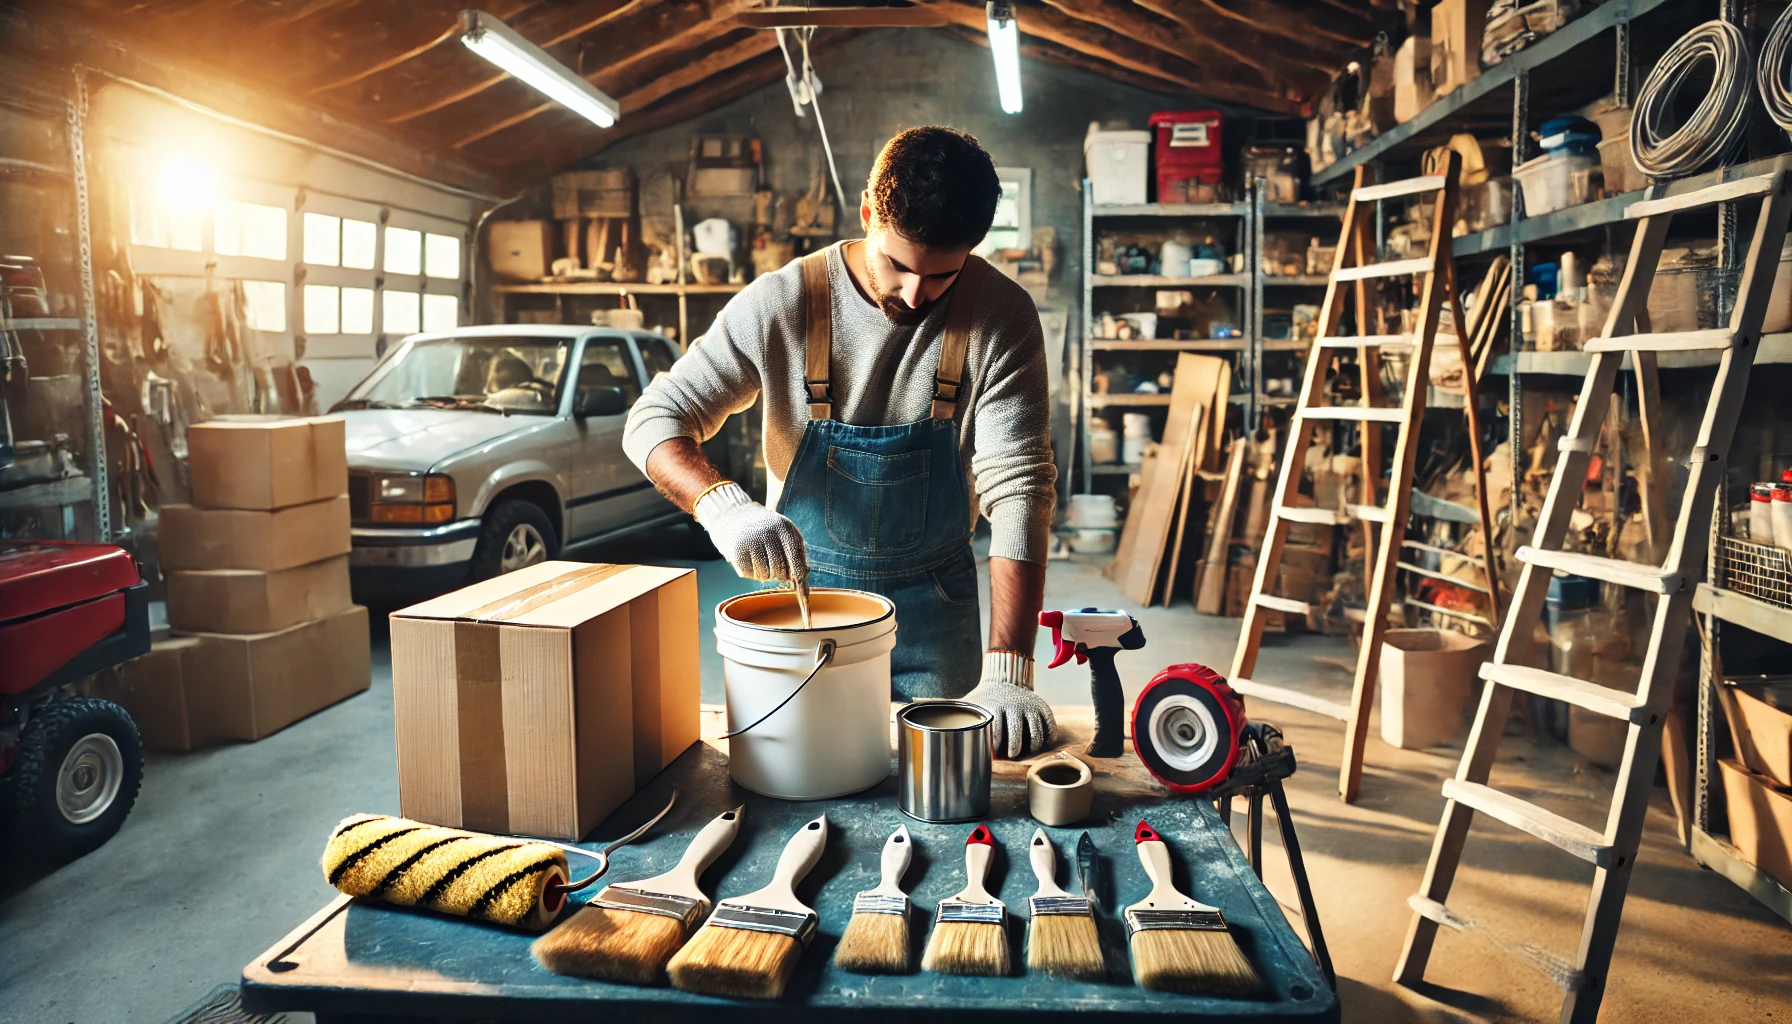
1. Gather Supplies
Gathering supplies stands as the quintessential first step in any furniture painting endeavour, be it with spray paint, chalk paint, or the classic brush application.
To ensure you achieve results that would make even a professional painter nod in approval, it’s imperative to select high-quality paint tailored to the furniture’s material, accompanied by brushes and rollers specifically designed for your desired finish. A foam roller, for instance, can deliver a smooth surface on larger areas, while synthetic bristle brushes are ideal for those meticulous details that require a steady hand and a discerning eye.
Let’s not overlook the importance of protective gear; a sturdy mask and gloves are your allies against fumes and messy mishaps. Additionally, investing in painter’s tape and dust sheets is akin to securing an exclusive VIP pass for your project—these tools will save you both time and effort by safeguarding surrounding areas and ensuring those immaculate clean lines.
When choosing materials, always keep durability and ease of application at the forefront. After all, a seamless project experience is the ultimate goal, and who wouldn’t want to bask in the glory of a job well done?
2. Choose a Workspace
Selecting the right workspace is akin to choosing the perfect paint colour; an adequately ventilated area can significantly enhance your DIY experience while ensuring safety throughout your project.
Let us not underestimate the pivotal role of lighting in the creative process. Ideally, natural light reigns supreme, allowing for true colour perception. However, should that not be feasible, bright artificial lights can serve as a commendable alternative.
Ventilation is not merely a luxury; it aids in dissipating potent odours and averting the accumulation of harmful fumes—particularly essential when working with solvents.
On the subject of cleanliness, employing protective coverings for your surfaces can be a time-saver of epic proportions. Consider utilising drop cloths or plastic sheeting; your future self will thank you.
To truly optimise your workspace, arrange your materials within arm’s reach, ensuring that brushes, paints, and tools are impeccably organised. This strategic setup will facilitate a seamless and enjoyable painting experience, transforming the mundane into the magnificent.
3. Clean and Sand the Furniture
Cleaning and sanding your furniture are imperative preparatory steps that can elevate a piece from drab to fabulous, ensuring a silky-smooth canvas for that fresh coat of paint.
These actions are essential not merely for their visual appeal but also for securing optimal paint adhesion. By diligently cleaning the surface, one bids farewell to dust, grease, and outdated finishes that might otherwise sabotage the new paint’s bonding capability.
Once the cleaning is complete, sanding takes centre stage to further enhance this process by crafting tiny grooves that promote mechanical adhesion. Be it a wooden table, a metal chair, or a vintage dresser, investing time in proper preparation can dramatically impact the durability and aesthetic of the final finish.
Employing the right sanding techniques—starting with a coarser grit and finishing with a finer one—can be the secret ingredient in achieving that enviable, professional look. Who knew that a little elbow grease could yield such splendid results?
4. Prime the Furniture
Priming your furniture is akin to laying the groundwork for a magnificent masterpiece; it enhances paint adhesion and elevates the final finish, making those colours truly dazzle.
This crucial step not only facilitates a smooth application but also extends the life of your paint job. There’s a veritable smorgasbord of primer types available—oil-based, water-based, and shellac—each designed for specific surfaces like wood, metal, or plasterboard. Selecting the appropriate primer can dramatically influence the vibrancy and durability of the final coat.
For example, an oil-based primer is the champion when it comes to blocking stains on wood, while a water-based option offers the luxury of easy cleanup and is perfect for general use. Ultimately, choosing the right primer not only boosts adhesion but also enhances the overall aesthetic of your project, allowing the true beauty of those colours to radiate with brilliance.
Choosing the Right Paint for Furniture
Selecting the appropriate paint for your furniture project can be as overwhelming as choosing the perfect outfit for a first date—an abundance of options, yet only one can truly be the ideal match.
Thus, it becomes essential to familiarise oneself with the myriad of paint types and finishes available, ensuring a choice that is as striking as it is suitable.
1. Types of Paint
In the realm of furniture painting, a keen understanding of the various paint types—such as chalk paint for that coveted vintage appeal or durable spray paint for those in a hurry—can pave the way to triumph.
As one delves into these options, it becomes apparent that acrylic paint, with its radiant hues and durable finish, is a stellar choice for high-traffic furniture pieces that demand both beauty and resilience. On the other hand, oil-based paints may require a bit more patience due to their extended drying time, but they reward users with a glossy, robust surface that can withstand the trials of heavy use—ideal for furniture that endures the hustle and bustle of daily life.
For those with an eco-friendly mindset, milk paint presents an appealing option. Its unique, chalky finish can conjure a charmingly distressed appearance, perfect for those yearning for rustic allure.
By weighing the pros and cons of each paint type, anyone embarking on a furniture project can select the ideal paint not only to enhance the aesthetic appeal but also to ensure the durability of their cherished pieces. After all, a well-painted piece of furniture should not only look good but also stand the test of time—like a fine wine, it should only get better with age.
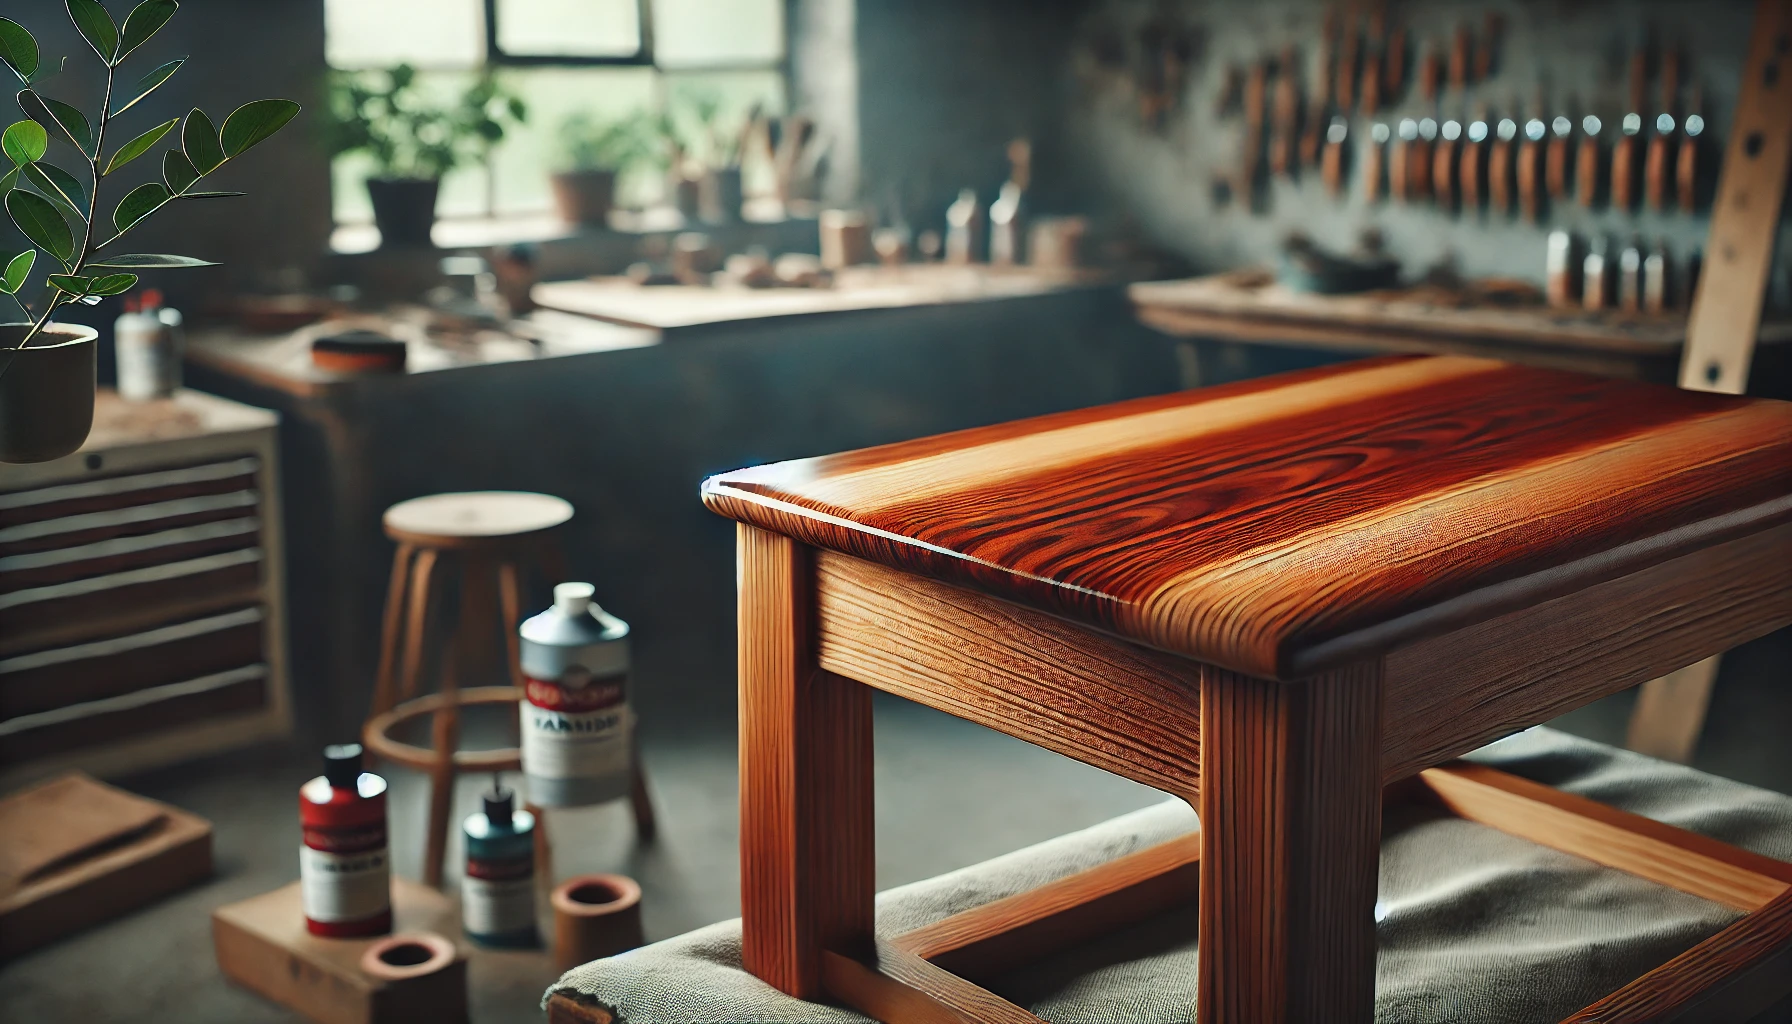
2. Choosing the Right Finish
Selecting the right finish for your furniture painting project is akin to adding the cherry on top of an already splendid sundae; it profoundly influences not only the visual appeal but also the longevity and upkeep of your artistic creation.
Various finishes—such as matt, gloss, and satin—can transform the essence of a piece in dramatic fashion. For instance, a glossy finish reflects light with flair, making it the darling of modern, sleek designs. In contrast, a matt finish exudes a more understated elegance, perfectly suited for vintage or rustic furniture. Satin, that charming middle ground, offers a gentle sheen that enhances colours without stealing the spotlight.
When pondering your finish selection, it is wise to consider the type of furniture and its intended use. High-traffic items like dining tables may prefer the durability of a glossy finish, while pieces meant primarily for decorative purposes might revel in the timelessness of a matt or satin finish, ensuring they remain effortlessly stylish through the ages.
Painting Techniques for Furniture
Mastering painting techniques for furniture is akin to perfecting the art of conversation; once one acquires the proper methods, those pieces will seamlessly transition into captivating conversation starters within the realm of home décor.
After all, who wouldn’t want their furniture to be as engaging as their finest dinner guests?
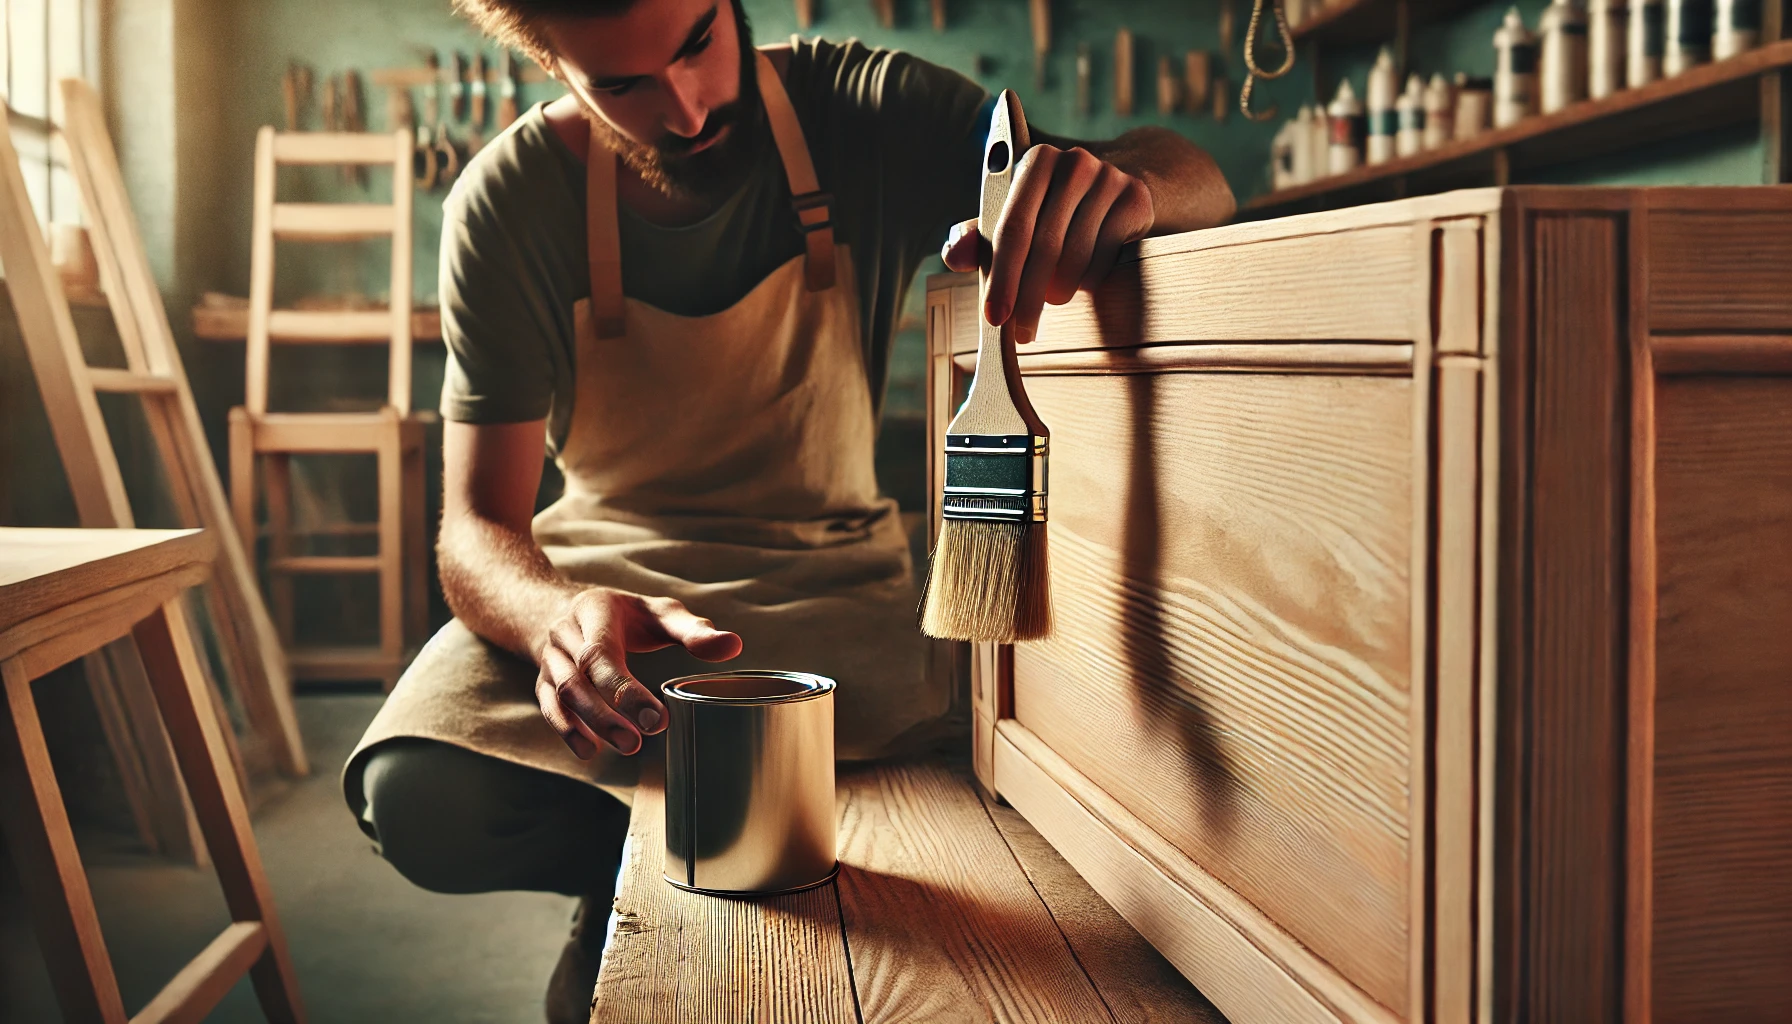
1. Brush Painting
Brush painting is a time-honoured technique that, when executed with finesse, can infuse character and detail into any furniture piece, seamlessly bridging the gap between vintage charm and modern allure.
To truly ascend to the ranks of master brush painters, one must select the right tools for the job—flat, round, and angled brushes each have their own special talents. For those expansive surfaces, a wide flat brush performs admirably, while the smaller round brush is your trusty companion for intricate detailing.
In terms of applying paint, less is often more; working in thin coats not only minimises the risk of unsightly brush marks but also ensures an elegant finish. A common misstep is overworking the paint—allowing it to dry slightly before layering on the next coat can yield a remarkably smoother result.
Whether you’re breathing new life into an ageing chair or embarking on a daring project with a bold accent table, adhering to these tips will undoubtedly elevate your brush painting prowess, allowing you to create pieces that command attention and admiration.
2. Spray Painting
Spray painting presents a swift and efficient method for covering large surfaces, making it the preferred technique among DIY enthusiasts aiming to transform their furniture without the cumbersome nature of traditional methods.
This approach not only conserves time but also provides an even coat, diminishing the risk of unsightly streaks or brush marks that could otherwise detract from the elegance of their projects.
To achieve exemplary results, one must become acquainted with essential tools such as high-quality spray paint, stencils, and protective gear, thereby ensuring a safe and successful endeavour.
Employing techniques like maintaining a steady hand for consistent spray patterns and applying multiple thin coats can markedly enhance the final appearance while minimising the dreaded drips and runs.
However, one must remain vigilant, as challenges such as wind and overspray might conspire to complicate the process; hence, meticulous preparation is paramount.
3. Chalk Painting
Chalk painting has rightly claimed its throne as the reigning champion of the DIY realm, providing an effortless pathway to achieve that coveted vintage aesthetic with minimal fuss and maximum flair.
The unique texture of chalk paint, complete with its soft, matt finish, works wonders in transforming surfaces, endowing them with an irresistibly weathered charm. This versatile medium is not just a one-trick pony; it can be applied to a wide range of materials, from wood to metal, allowing enthusiasts to personalise their furniture and home décor with ease and elegance.
But wait, it gets better! The application process is refreshingly simple—often requiring neither priming nor sanding, just a clean surface. The rise in popularity of distressing techniques has become the icing on the cake, as many creators strive for that perfectly imperfect look that adds character to their projects.
This delightful blend of simplicity and creativity has undoubtedly won over countless individuals eager to infuse a touch of rustic elegance into their living spaces.
Adding Finishing Touches

In the realm of furniture painting, it is the delicate finishing touches that elevate a mere paint job to a veritable masterpiece, infused with character and charm. One might say that these final accents are the pièce de résistance, turning the ordinary into the extraordinary with just a stroke of creativity.
1. Distressing
Distressing is a cherished technique that infuses furniture with character and a certain well-loved charm, as if each piece has a delightful story to share. This method not only enhances visual appeal but also cultivates an authenticity that newer items often lack—because let’s face it, who doesn’t love a bit of history?
Various techniques, such as sanding, employing paint strippers, or even the occasional enthusiastic hammering, can effectively conjure this vintage look. For instance, a gentle sanding can reveal the wood beneath, while a wax finish adds a warm glow that beckons a closer look.
When executed with finesse, distressing can elevate aesthetics, allowing furniture to harmoniously blend into a range of décors, from the rustic to the ever-popular modern farmhouse style.
To further amplify that aged effect, one might consider layering paint or integrating hardware that whispers of an era long past. After all, a little nostalgia can go a long way in transforming the ordinary into the extraordinary.
2. Stenciling
Stencilling can serve as the delightful cherry on top of your furniture project, effortlessly bringing creativity to the forefront and allowing your unique personality to shine like a beacon of artistic expression.
Selecting the appropriate stencil design is paramount; whether one leans towards intricate patterns or opts for the elegance of simple shapes, it’s essential that it harmonises with the overall style of the furniture.
Ahead of applying the stencil, one should diligently prepare the surface by cleaning and, if necessary, priming it. Employing painter’s tape to secure the stencil will prevent any unsightly paint bleed. A foam roller or stencil brush proves invaluable for achieving an even application, ensuring crisp, defined edges that even a perfectionist would admire.
Do not underestimate the power of colour combinations; they can dramatically transform a piece and enhance its aesthetic appeal in ways that can leave one utterly mesmerised. By adhering to these tips, stencilling can elevate your project from the ordinary to the extraordinary, turning a simple piece of furniture into a true work of art.
3. Adding Hardware
Incorporating new hardware into your furniture is akin to accessorising an outfit; it can dramatically elevate both the aesthetic and functionality, making it a crucial step in any furniture makeover.
By carefully selecting the right knobs, handles, or pulls, one can artfully marry style and practicality—a particularly important consideration for frequently used items like cupboards and dressers. When contemplating a design overhaul, it’s wise to ponder how various materials and finishes can not only enhance visual appeal but also enrich the user experience.
The process of installing new hardware is refreshingly straightforward, a task that anyone can conquer. This simple act has the power to transform ordinary furniture into captivating focal points that not only reflect personal style but also improve accessibility and ease of use.
Tips and Tricks for a Professional Finish
Achieving a professional finish in your furniture painting project may appear to be akin to conjuring magic, but with a few savvy tips and tricks, one can effortlessly elevate their DIY endeavours to pro-level status—all without the need to enlist the services of a contractor.
1. Use Light Coats of Paint
Utilising light coats of paint is the clandestine strategy for achieving a flawless finish, effectively minimising the risk of drips while ensuring an even application over time.
This technique not only elevates the visual allure of the painted surface but also significantly bolsters the durability of the finish. When multiple light layers are applied, each coat dries more swiftly, facilitating a quicker project completion. This methodical approach fosters a stronger bond between layers and significantly reduces the chance of imperfections such as bubbling or streaking.
The gradual buildup of paint fosters rich, vibrant colours and a smoother overall texture, making it the preferred choice for both DIY aficionados and seasoned professionals who aspire to achieve high-quality results. After all, who doesn’t want their work to look as good as it lasts?
2. Avoid Drips and Brush Marks
Avoiding drips and brush marks in your furniture painting endeavour is akin to skillfully navigating a minefield; it requires finesse and technique, but oh, how rewarding the outcome can be.
With the right strategy, anyone can achieve a finish that rivals the professionals, transforming their pieces into visual masterpieces.
Begin by selecting high-quality brushes tailored to the paint type; these essential tools can drastically reduce imperfections. Incorporating a paint conditioner will enhance flow and levelling, both vital for achieving that coveted smooth application.
It is imperative to apply paint in thin, even layers, allowing each coat to dry thoroughly before proceeding to the next. Embracing a systematic approach—working consistently in the same direction and maintaining wet edges—can significantly elevate your results, ensuring a flawless finish that would make even the most discerning artisan proud.
3. Let Paint Dry Completely
Allowing your paint to dry completely is of utmost importance; hastening this step could lead to a finish that might best be described as “artistic chaos” rather than the polished result one desires.
Factors such as humidity, temperature, and the specific type of paint in use can significantly affect drying times. For example, high humidity has the delightful ability to extend the drying process, while warmer temperatures seem to have a tendency to rush things along—almost as if they have somewhere else to be.
Understanding these variables is crucial, as insufficiently dried paint not only compromises aesthetic appeal but also jeopardises durability, potentially resulting in unsightly peeling or chipping in the not-so-distant future. Therefore, investing the necessary time to allow for proper drying ultimately guarantees a professional-looking finish that enhances both the visual appeal and longevity of the painted surface.
After all, who wouldn’t want their hard work to stand the test of time?
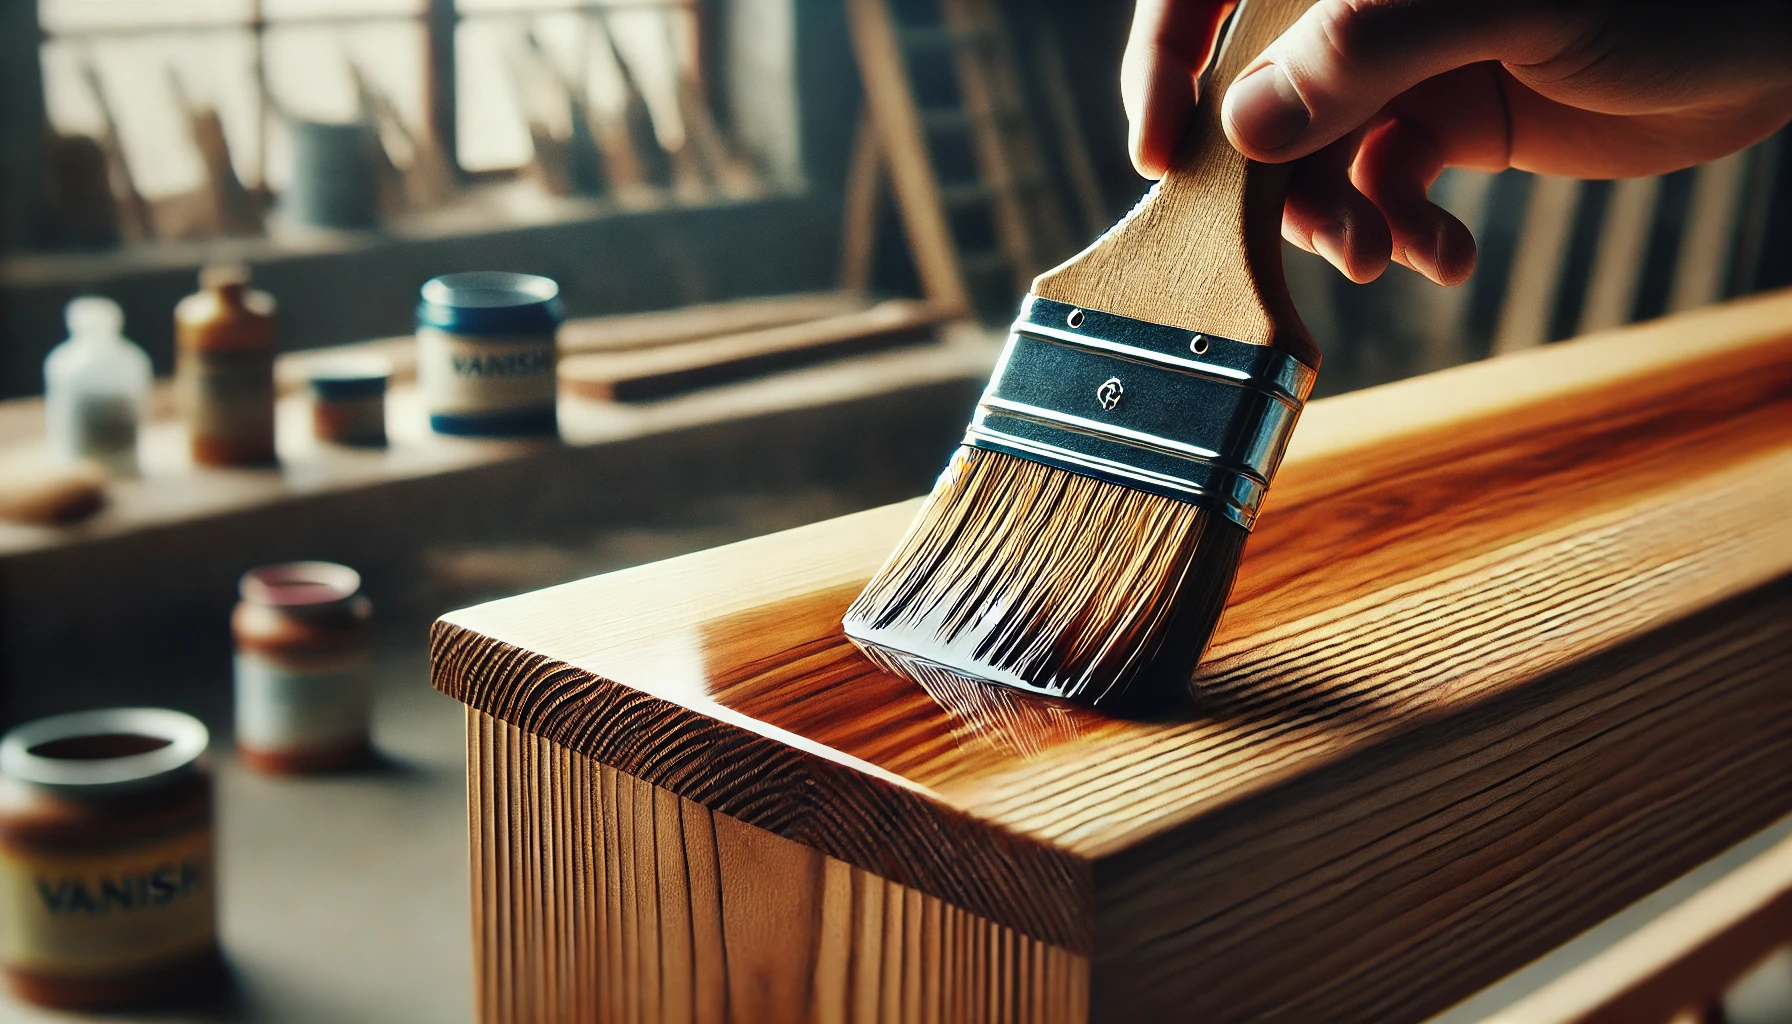
4. Seal the Furniture
Sealing your furniture post-painting is akin to donning a raincoat on a fine masterpiece; it safeguards your diligent efforts and preserves that stunning finish for years to come.
A plethora of sealing options awaits, each boasting its own unique benefits and application techniques. For instance, polycrylic and polyurethane are the sturdy champions of durability and scratch resistance, making them the ideal choice for surfaces that see frequent use. Conversely, wax finishes offer a softer, more natural allure while enhancing the paint’s colour depth—an aesthetic delight, indeed.
To ensure that your application is nothing short of successful, begin with a clean, dry surface, and wield a high-quality brush or foam applicator for an even coat. Remember, applying multiple thin coats instead of one thick layer is the secret to avoiding drips and ensuring that the sealant cures properly—thus guaranteeing the longevity of your paint job.
After all, even masterpieces deserve a little protection from the elements.
Frequently Asked Questions
1. How do I prepare furniture for painting?
Before painting furniture, it is important to clean and sand the surface to ensure proper adhesion of the paint. Start by dusting off any debris or dirt with a dry cloth. Then, use a mild cleaner to remove any grime or grease. Once the furniture is clean, sand the surface lightly with fine-grit sandpaper to create a smooth surface for the paint to adhere to.
2. Do I need to use a primer when painting furniture?
Using a primer is highly recommended when painting furniture, especially if it has a glossy or previously painted surface. Primer helps the paint adhere better and provides a smooth base for the paint to go on. It also helps to prevent the wood from absorbing too much paint, resulting in a more even finish.
3. What type of paint is best for painting furniture?
In terms of painting furniture, the type of paint you use is important. For wooden furniture, a latex or acrylic paint will work well. These types of paint are durable, easy to clean, and come in a wide range of colours. For metal furniture, opt for an oil-based paint for better adhesion and durability.
4. Can I paint over stained or varnished furniture?
Yes, you can paint over stained or varnished furniture, but it is important to properly prepare the surface to ensure the paint adheres correctly. Start by cleaning and sanding the surface to remove any glossy finish. Then, apply a coat of primer before painting with your chosen colour.
5. How many coats of paint do I need to apply?
The number of coats of paint needed will depend on the colour and type of paint you are using, as well as the condition of the furniture. Generally, two coats of paint are recommended for a smooth and even finish. If you are using a lighter colour over a darker one, you may need an additional coat for full coverage.
6. How can I protect the painted furniture from damage?
To protect your newly painted furniture, it is best to apply a clear topcoat or sealant. This will help to prevent scratches and damage to the paint. You can choose from a variety of options such as a polyurethane, wax, or polycrylic sealants. Apply according to the product instructions and allow ample drying time before using the furniture.