Transforming a room with a fresh coat of paint can breathe new life into your space, but the process requires more than just a brush and a can of colour.
From selecting the perfect paint to mastering techniques and avoiding common pitfalls, preparation is key to achieving a professional finish.
This guide will walk you through the best practices for painting walls, ensuring your painting project is both enjoyable and successful.
Ready to elevate your painting skills? Dive in!
Preparation for Painting
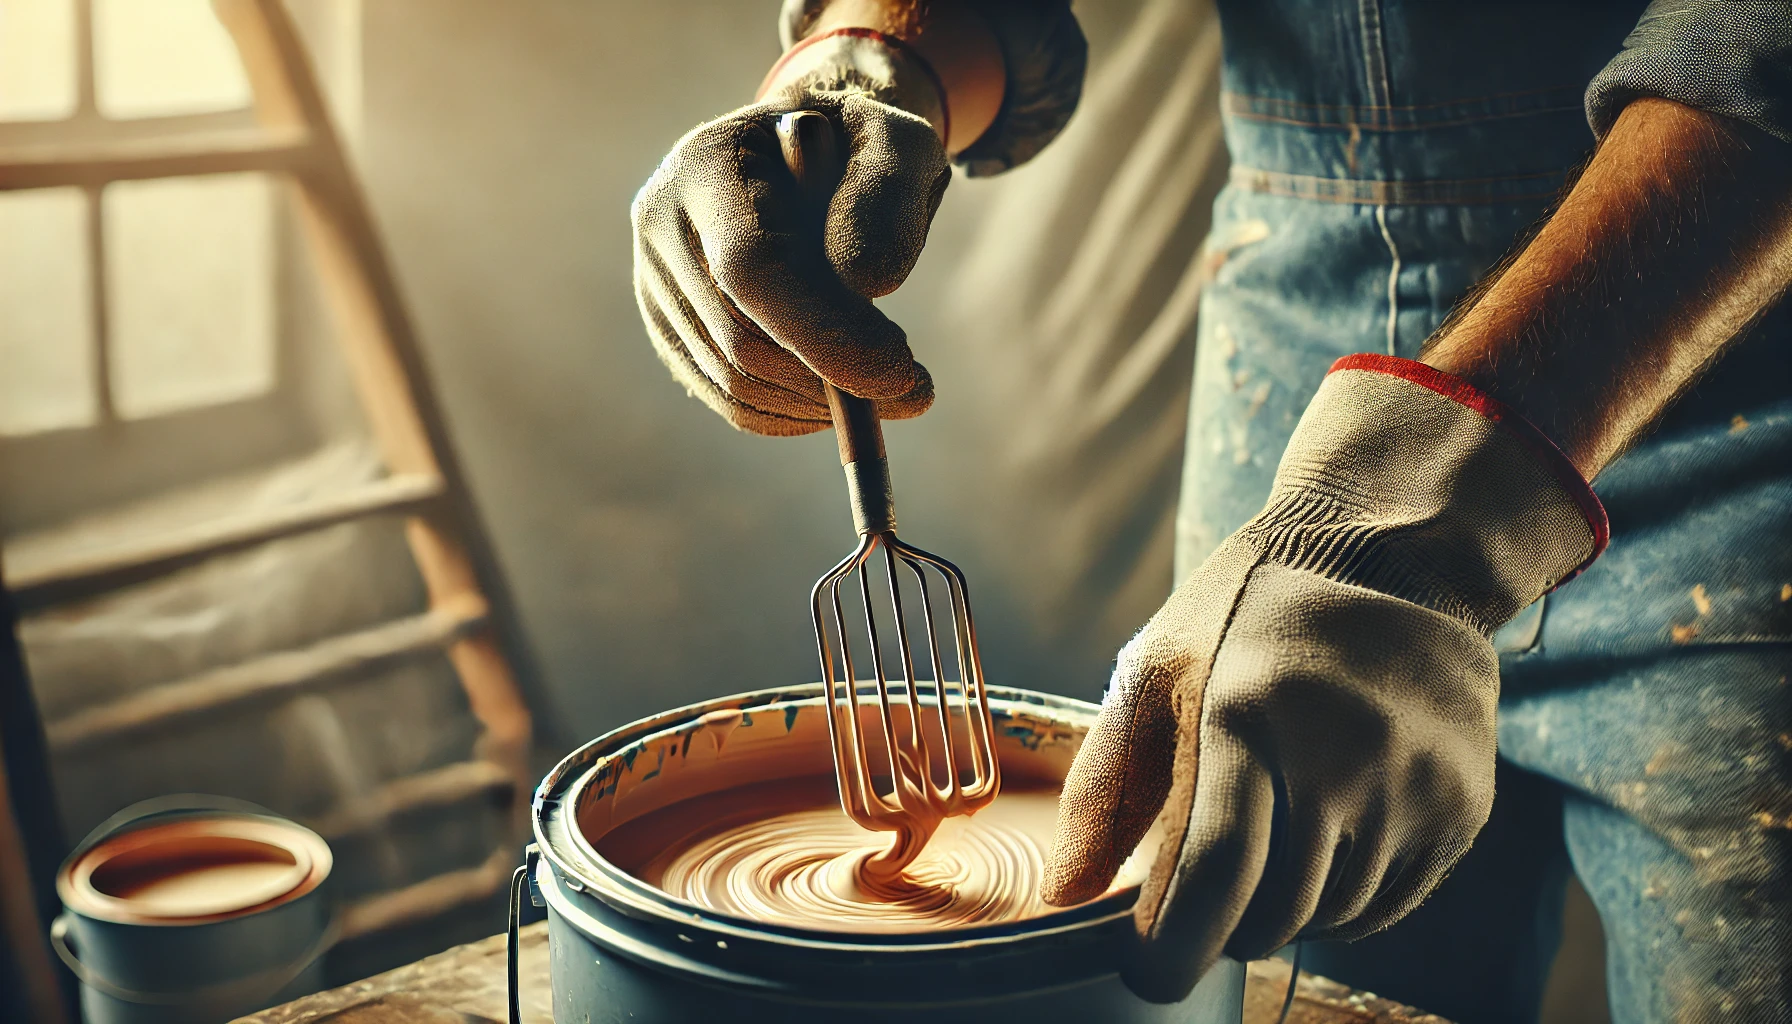
Before one embarks on the vibrant adventure of painting walls, preparation becomes paramount for a smooth and successful endeavour. From selecting the appropriate paint types and applying a meticulous primer to assembling the necessary tools and ensuring a pristine surface, each step plays a pivotal role.
Whether one identifies as a DIY enthusiast or engages the services of professional painters, grasping the nuances of wall preparation can significantly impact the quest for that flawless finish. It’s not merely about aesthetics; it’s about the longevity and durability of the paint job, particularly crucial when contemplating eco-friendly paint options.
After all, a beautiful wall should not only please the eye but also stand the test of time—preferably without harming the planet in the process.
1. Choosing the Right Paint
Selecting the right paint is rather like choosing the ideal outfit for a grand occasion; it establishes the mood and defines the overall aesthetic. From breathtaking wall colours to the myriad of paint types—be it water-based or oil-based—your selection will impact not only the visual appeal but also the durability and maintenance of the finish.
A thorough comprehension of paint sheens, such as matte versus gloss, coupled with a keen eye for colour selection and matching, can assist in crafting the desired ambience.
The appropriate sheen can infuse depth and character, thereby enhancing the visual charm of any space, whether it’s a cosy living room or a sunlit kitchen. For instance, a semi-gloss finish is a splendid choice for high-traffic areas due to its ease of upkeep, while a satin sheen can envelop bedrooms in a warm embrace.
When considering colours, it’s imperative to account for complementary shades and their interaction with natural light, as this interplay can dramatically alter a room’s perception. Opting for environmentally friendly paints, such as low-VOC or zero-VOC varieties, not only protects indoor air quality but also champions sustainability.
Reputable brands like Benjamin Moore and Sherwin-Williams offer extensive palettes that can elevate any painting endeavour to new heights.
2. Gathering Materials and Tools
In the realm of painting, possessing the right tools and materials is akin to a chef wielding a well-curated set of knives—it’s your secret weapon for triumph. Brushes, rollers, and even paint sprayers each play a distinct role, enabling you to approach any painting endeavour with the grace of a seasoned artist. Essentials like masking tape are crucial for achieving those crisp lines, while d ust sheets stand guard against any potential mishaps that could mar your floors, saving you a veritable mountain of cleanup hassle down the road.
Selecting the appropriate brush is paramount, as they flourish in a delightful array of shapes and sizes, each tailored for specific tasks. For example, angled brushes excel in the fine art of cutting in around edges and corners, while broader flat brushes glide effortlessly across larger surfaces. Rollers, on the other hand, bring speed to expansive areas and can be fitted with varying nap lengths, ensuring an even finish that would make any perfectionist proud.
Preparation tools like masking tape not only help create those immaculate paint lines but also act as vigilant sentinels, protecting surfaces that are best left unpainted. And let’s not overlook dust sheets—they are the unsung heroes, shielding your floors from spills and splatters with aplomb.
When weighing the choice between DIY and professional-grade equipment, keep in mind that while high-quality tools may demand a heftier initial investment, they often bestow smoother finishes and save precious time in the long run. After all, who wouldn’t want to enjoy the fruits of their labour without the pesky aftertaste of mediocrity?
3. Preparing the Room and Walls
Preparing the room and walls is an essential step that often gets overshadowed by the siren call of vibrant colours and glossy finishes. However, neglecting this phase could very well be the difference between a masterpiece and a muddled mess. Begin by giving those walls a good scrub to eliminate dust and grime.
Next, address any necessary repairs and sand the surfaces to achieve that coveted smoothness. This not only enhances paint adhesion but also ensures that the paint will stand the test of time and look splendid. And let’s not forget—good ventilation and safety gear are your best allies in this endeavour!
Once you’ve completed the cleaning, inspect those walls for any imperfections like cracks or holes; these little nuisances will need a bit of filling and patching. After making the necessary repairs, allow the areas to dry before sanding them down until they’re as even as a freshly ironed shirt.
Adequate sanding creates a texture that allows the paint to grip better, much like a well-trained hand on a basketball. Priming the surfaces is equally vital; it provides a uniform base and ensures that the topcoat remains vibrant and true to colour.
Finally, ensure the room is well-ventilated—open those windows, crank up the fans, and don your safety goggles and masks to shield yourself from dust particles and fumes. This thorough approach not only safeguards health but can lead to a stunning, durable finish that will have everyone wondering if you’ve secretly hired a professional!
Techniques for Painting Walls
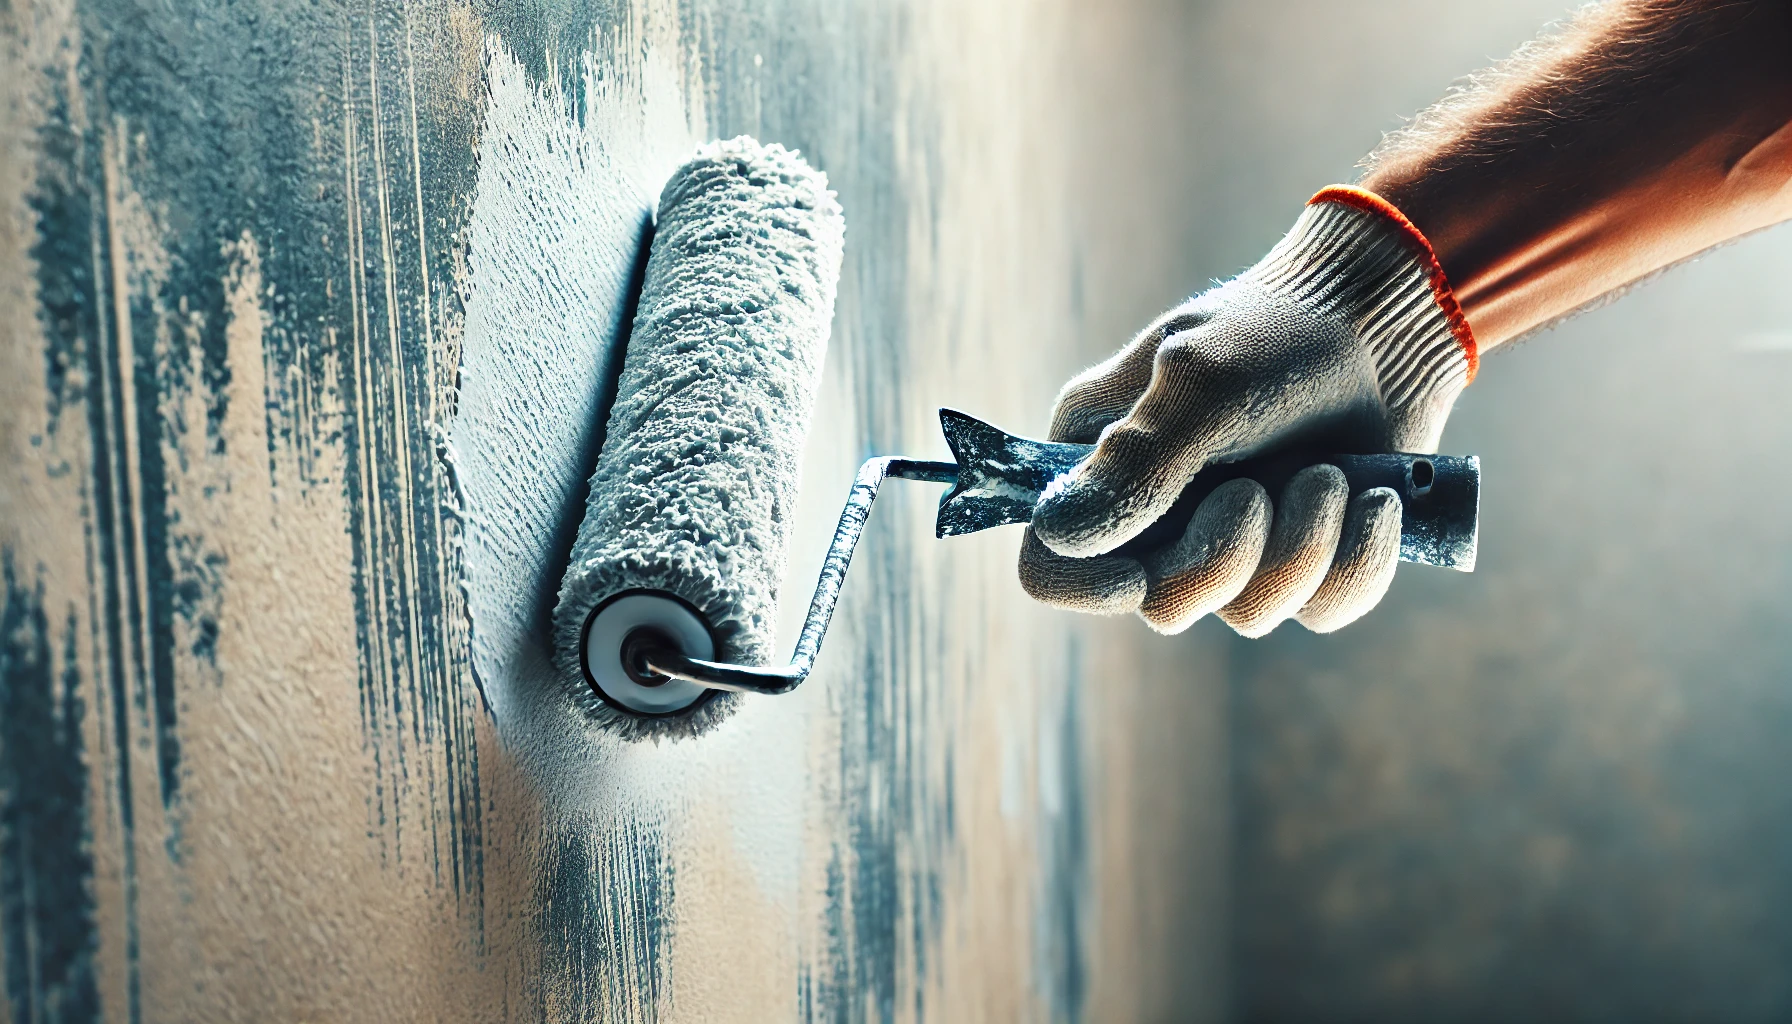
Mastering the art of wall painting is akin to perfecting the dance steps to a beloved tune; with enough practice, one will inevitably find their rhythm and achieve that enviable finish.
Whether employing meticulous brush techniques for those tricky edges or deftly wielding rollers for the expansive canvas of a wall, mastering paint application can significantly elevate the aesthetic appeal.
Additionally, one must grasp the nuances of paint layering and touch-up techniques to ensure that the walls maintain an impeccable appearance, regardless of their texture or patterns. After all, even the most stunning wall deserves a flawless encore.
1. Cutting In
Cutting in is the unsung hero of painting techniques, enabling one to achieve those smooth edges and crisp lines that can make walls look as though a professional had worked their magic. This technique involves wielding a brush to carefully paint along the edges of walls, ceilings, and trim before diving into the delightful task of rolling larger areas. It can truly be a game-changer for any painting endeavour.
While masking tape is a trusty sidekick, mastering the art of cutting in will undoubtedly elevate your edge-painting skills to unprecedented heights.
The significance of this technique cannot be overstated, as it frames the entire room and sets the tone for your overall design—like the perfect frame for a masterpiece. To ensure optimal results, one should opt for a high-quality angled brush, which offers superior control and precision.
When working near surfaces that demand a clean edge, such as windows or skirting boards, employing masking tape can be particularly advantageous, especially for those still finding their footing in the painting world.
Regularly practising brush strokes on a scrap piece of material will not only enhance your confidence but also give the power to you to create sharp lines with ease. This preparation allows you to tackle more intricate projects, transforming you from a novice painter into a veritable Picasso of the walls.
2. Rolling the Paint
Utilising the rolling technique for paint application is akin to choosing the express lane on a motorway—it’s efficient and impeccably swift for covering large surfaces. Whether one opts for a foam roller or a traditional variant, mastering the art of roller techniques is crucial for achieving an even coat thickness and a finish that would make even the harshest critic nod in approval.
One must be vigilant about the paint application method; tackling the task in sections can effectively minimise those pesky roller marks and yield that elusive professional finish.
Opting for a high-quality roller sleeve is not merely a suggestion but a strategic decision, as it greatly influences the final result by retaining more paint and ensuring an even release. It is advisable to commence at the top of the wall, employing a ‘W’ motion while overlapping strokes for optimal coverage.
To manage drying time with finesse, it is essential to allow each section to dry thoroughly before applying a subsequent coat or moving to an adjacent area. This practice not only wards off unsightly streaks but also cultivates a consistent texture across the surface, thereby enhancing the overall aesthetic appeal of the painted space.
3. Blending and Feathering
Blending and feathering techniques are the veritable sorcery of the painting realm, enabling one to achieve seamless transitions between colours and textures for an impeccable finish. Whether concocting a new hue or sprucing up an existing wall, mastering these techniques is essential for creating a cohesive and visually delightful appearance. It is paramount to ensure optimal paint adhesion during this endeavour to prevent any unsightly lines or patches from stealing the show.
To commence, the feathering technique entails gently brushing over the edges of freshly painted sections to produce a gradual fade, thereby avoiding any jarring contrasts. A dry, soft brush is your best ally in blending the paint into the surrounding surface; remember to work in thin layers for the most gratifying results.
Regarding blending, mixing colours on your palette prior to application is crucial, as it allows for smooth transitions directly on the wall. For those pesky touch-ups, a light sanding of the edges of imperfections before repainting can work wonders, enhancing adhesion and ensuring a consistent finish throughout the project.
Tips for a Professional Finish
Achieving a professional finish in painting is akin to discovering the holy grail of home improvement, and with the right expert tips at your disposal, one can truly elevate their DIY prowess.
Using a primer is not merely an option; it’s an essential step that prepares the surface and enhances paint adhesion, laying the groundwork for a flawless application. Furthermore, one must not underestimate the value of thinning the paint when needed, using quality tools, and timing each stroke with precision.
These practices ensure an even, durable finish that not only looks splendid but also withstands the relentless passage of time, much like a well-aged fine wine.
1. Use Primer
Using primer is akin to laying the foundation of a house; it is absolutely essential for ensuring paint adhesion and extending the life of your wall finishes. A quality primer not only prepares the surface but also enhances the vibrancy of your paint colours, enabling you to achieve that desired professional finish.
This step becomes particularly critical for surfaces that may prove to be tricky, such as those marred by stains or uneven textures.
Various types of primers are formulated for specific applications; for example, oil-based primers excel at blocking stains on wood or masonry, while emulsion primers are the go-to choice for plasterboard and previously painted surfaces.
Specialty primers, such as those engineered for high-adhesion or low-VOC environments, cater to unique requirements, ensuring optimal results.
Regarding selecting the right primer, one must consider factors such as the surface material and the type of paint intended for use, as these choices will directly influence the durability and finish of the project. A judicious selection can lead to a smooth, long-lasting application that truly showcases the beauty of the chosen colours—because who wouldn’t want their walls to shine like a well-polished apple?
2. Thin the Paint
Thinning the paint may seem like a curious notion, yet it can remarkably elevate your painting experience and application process. By reducing viscosity, one allows for a smoother application, which can result in a more uniform coat thickness and a polished finish that would make even the most discerning art connoisseur nod in approval. This technique is particularly advantageous for those wielding quality tools such as sprayers or rollers, ensuring that the paint adheres to the surface like a well-tailored suit.
It’s essential to discern when thinning is warranted, as it can be particularly beneficial for both oil-based and water-based paints, each with its own idiosyncrasies. A reliable guideline is to thin the paint when it feels too thick to spread with ease and when aiming for a consistent finish, especially on those intricate surfaces that demand attention to detail.
The finest methods for thinning involve using suitable thinning agents—water for emulsion paints or mineral spirits for oil-based varieties. Proper thinning can also impact drying time, potentially expediting it when executed with precision, all while contributing to a more refined and aesthetically pleasing final appearance. This makes it an essential technique for both amateur and professional painters alike, who aspire to achieve that coveted “just painted” look without the fuss.
3. Use Quality Tools
Utilising high-quality tools is reminiscent of having a master artisan by your side; the difference they make in paint application and durability is nothing short of remarkable. Quality brushes and rollers don’t just apply paint with finesse; they also help sidestep common mishaps like streaking or shedding. A judicious investment in superior tools can significantly enhance the longevity of your paint job, ensuring it stands the test of time.
Regarding selecting tools, one must consider options tailored to the specific requirements of the project at hand. For example, a top-rated synthetic bristle brush is a champion for smooth finishes, making it the perfect companion for trim and intricate details, while a high-density foam roller is the go-to for achieving a sleek texture on larger surfaces.
Equally vital is the proper maintenance of these tools; a prompt cleaning after use, appropriate storage, and timely replacement of worn bristles or rollers will ensure they perform at their peak for countless projects down the line. By prioritising quality and care, your painting endeavours will not only meet expectations but dazzle in the process.
4. Paint in Natural Light
Painting in natural light can truly be a transformative experience, akin to viewing the world in high definition. It allows one to appreciate the true essence of paint colours, revealing their nuances and ensuring that the final product aligns with one’s artistic vision. Moreover, working during daylight hours facilitates proper drying times, resulting in a smoother finish and enhanced light reflection.
To fully capitalise on this advantage, it is wise to schedule painting sessions during peak daylight hours, typically from mid-morning to late afternoon. This timing ensures one reaps the benefits of the most intense and consistent light available.
Grasping the principles of colour psychology is equally essential, as various hues can evoke a spectrum of emotions, significantly influenced by the quality of light present in a room. Soft, diffused light imparts a cosy and inviting ambience, while bright, direct light generates an energetic atmosphere.
Being cognisant of how light interacts with colour not only elevates the aesthetics of any project but also profoundly affects the overall mood of the spaces one seeks to transform.
Common Mistakes to Avoid
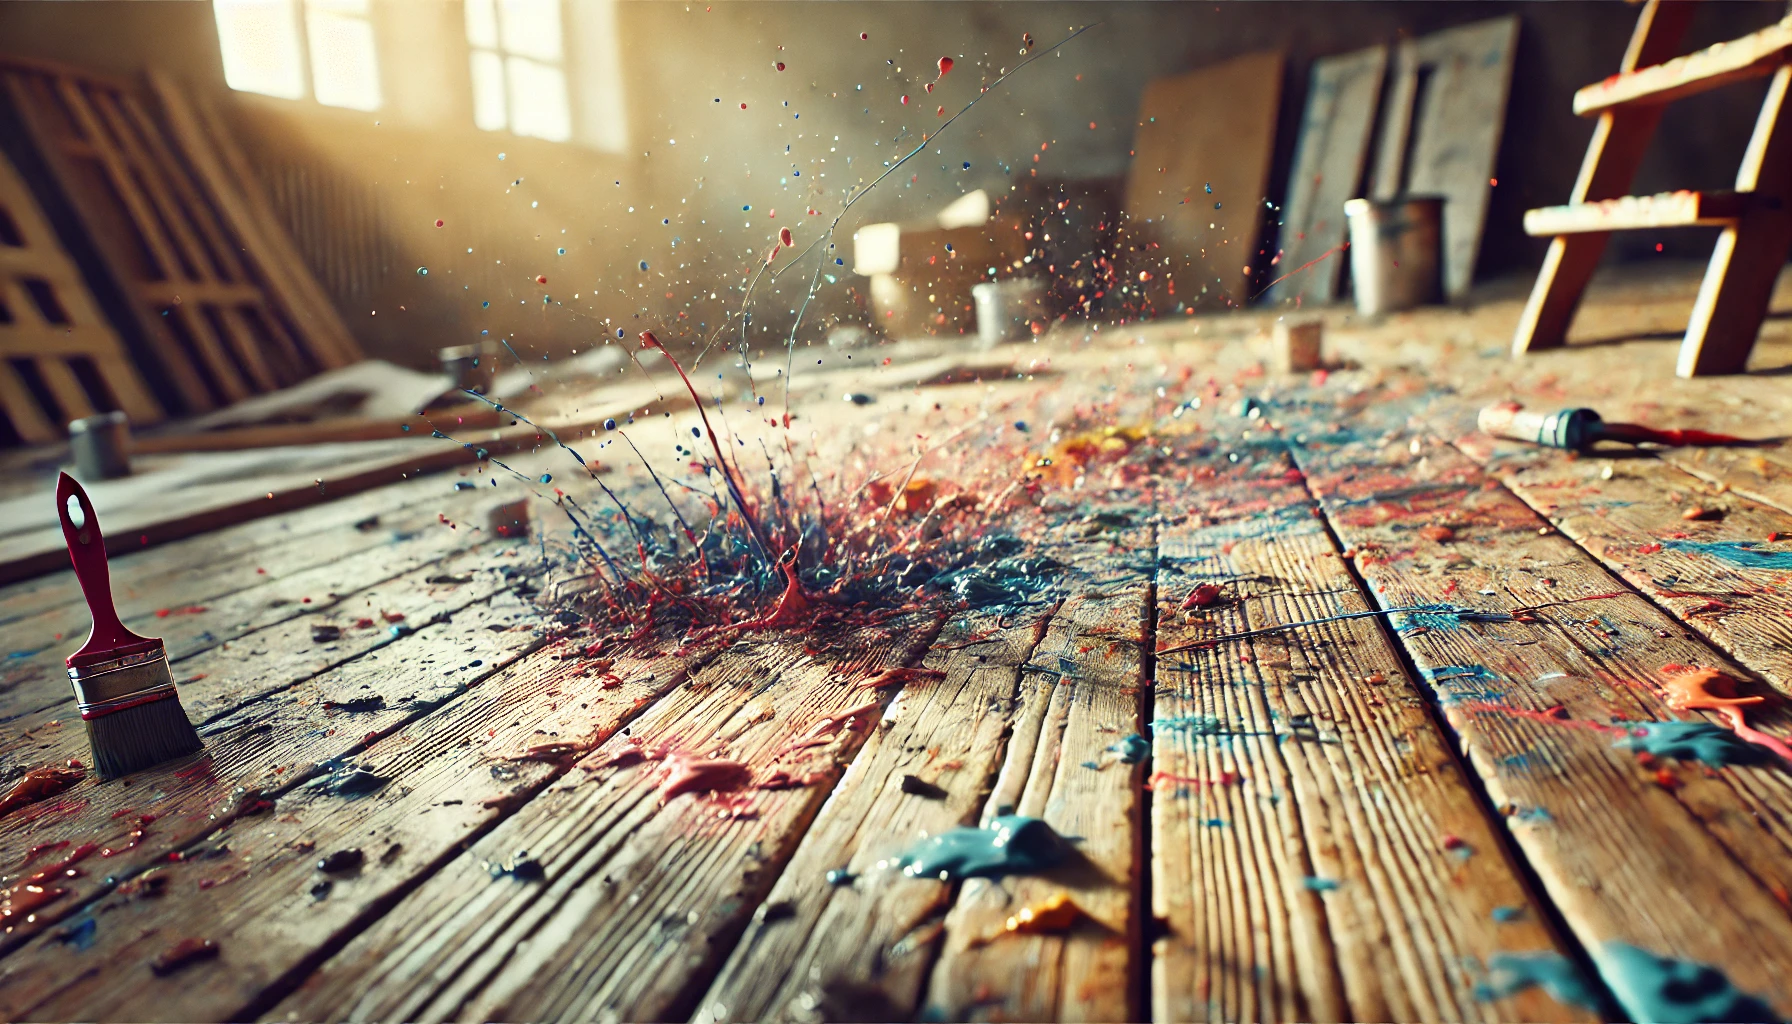
While painting may appear to be a straightforward endeavour, there are pitfalls lurking like mischievous gremlins, ready to sabotage your hard work faster than one can utter ‘oops!’ The foremost transgression is skipping preparation; this blunder can result in poor paint adhesion and a finish that resembles a subpar watercolour attempt.
Furthermore, neglecting the use of dust sheets can transform your space into a veritable Jackson Pollock masterpiece of unintended mess, while overloading your brush or roller can lead to drips reminiscent of a rather unfortunate rain shower.
It is essential to remember that allowing paint to dry properly is not merely a suggestion; it is the key to achieving that flawless, durable finish that would make even the most discerning critic nod in approval.
1. Skipping Preparation
Skipping preparation is akin to constructing a house on shifting sands; the inevitable outcome will be a rather disheartening collapse. Proper wall cleaning, repair, and priming serve as the essential groundwork for achieving successful paint adhesion and a pristine finish. Overlooking these critical steps could lead to a parade of peeling, bubbling, and other unsightly results that even the most skilled touch-ups cannot remedy.
Consider, for example, a homeowner brimming with enthusiasm to rejuvenate their living space. They opt to paint without adequately cleaning the walls, resulting in a greasy surface that causes the paint to flake away faster than a bad magician’s trick.
Similarly, neglecting repairs for cracks and holes allows water to infiltrate, paving the way for mould and further mayhem.
Priming, too, is paramount; without it, the walls absorb paint unevenly, leading to a dull and patchy appearance that could make even the most optimistic decorator weep.
Thus, adhering to a meticulous preparation routine is not just advisable but essential for ensuring a finish that is both enduring and aesthetically pleasing.
2. Not Using a Drop Cloth
Neglecting to use a dust sheet during a painting project is rather like rolling out the welcome mat for chaos in your home; it’s a surefire recipe for disaster! Dust sheets serve as the guardians of your floors and furniture, valiantly protecting them from those mischievous paint splatters and spills, thereby transforming post-project cleanup from an epic saga into a mere footnote.
Skipping this essential step not only amplifies your workload but also threatens wall integrity, as those rogue paint drips can result in uneven finishes and pesky stains.
To sidestep these common blunders, one must carefully select the appropriate dust sheet for the task at hand. Choices abound, from sturdy canvas, which champions durability and reusability, to lightweight plastic sheets that offer the convenience of easy disposal.
Each type brings its own distinct protective advantages, creating a formidable barrier between messy materials and your cherished surfaces. When placing the sheet, ensure it extends beyond the edges of your workspace; this guarantees that you’ve covered all bases.
Once the artistic endeavour is complete, cleanup becomes a breeze—simply launder the canvas dust sheets or fold up and dispose of the plastic ones with grace, leaving your workspace pristine and inviting for future creative exploits.
3. Overloading the Brush or Roller
Overloading the brush or roller is akin to attempting to stuff an overzealous number of items into a suitcase; the outcome is rarely favourable! When one applies too much paint at once, the result can be drips, uneven coverage, and a chaotic finish that may require double the effort to rectify. Mastering proper roller techniques and understanding the optimal amount of paint to apply will lead to a seamless application and consistent coat thickness.
To sidestep these pitfalls, it is crucial to dip the brush or roller just enough to coat the bristles without submerging them in a pool of paint. A good rule of thumb is to load the tool evenly, allowing a judicious amount of paint to be released gradually as one works.
This method not only curbs excessive dripping but also guarantees even distribution of paint, thereby enhancing the final appearance. Regularly inspecting for paint clumps on the edges and gently tapping off any excess before application can also work wonders.
By embracing these straightforward practices, painters can achieve a smooth and professional finish while significantly reducing the need for those pesky touch-ups later on.
4. Not Allowing Paint to Dry
Failing to allow paint to dry properly is akin to committing a cardinal sin in the realm of painting; it’s the quickest route to undermining all your diligent efforts and compromising the durability of your finish. Drying time is not merely a suggestion; it’s mission-critical for the paint to adhere and cure correctly, ensuring that the final application boasts a smooth and long-lasting allure. Rushing through this phase can result in smudges, unwelcome textures, and a finish that leaves one yearning for something—anything—better.
Several factors dictate the drying time of paint, including humidity levels, temperature, and the type of paint being used. For example, oil-based paints tend to take longer to dry in comparison to their more impatient water-based counterparts.
To achieve optimal results, one would be wise to work in an environment where the temperature is stable and humidity is low. Additionally, allowing ample time between coats can significantly enhance adhesion and elevate the overall quality. When employing diverse painting techniques, such as layering or glazing, patience is not just a virtue—it’s essential.
By adhering to these principles, artists not only sidestep potential pitfalls but also elevate their final masterpieces to a standard worthy of admiration.
Frequently Asked Questions
What are the best practices for preparing walls before painting?
Before painting walls, it is important to clean and repair any imperfections on the surface. This includes washing off dirt and grime, filling in holes and cracks, and sanding down any rough spots. It is also recommended to prime the walls before painting to ensure better adhesion and a smoother finish.
What type of paint should I use for painting walls?
The type of paint you use for painting walls will depend on the surface and the desired finish. For interior walls, latex or acrylic paints are commonly used as they are easy to clean and have a quick drying time. For exterior walls, it is best to use a paint specifically designed for outdoor use, such as an oil-based or masonry paint.
How many coats of paint should I apply?
It is recommended to apply at least two coats of paint when painting walls. This ensures full coverage and a more even finish. However, some colours and surfaces may require more coats for optimal coverage. Consider using a primer or tinted primer for a more efficient painting process.
What is the best technique for painting walls?
The best technique for painting walls is to start from the top and work your way down, using smooth and even strokes. It is also important to maintain a wet edge by overlapping each stroke and avoiding letting the paint dry in between. Use a roller for larger surfaces and a brush for smaller areas and corners.
What are some tips for achieving a professional-looking finish when painting walls?
Some tips for achieving a professional-looking finish when painting walls include using high-quality paint and tools, properly preparing the surface, and practicing good painting techniques. It is also important to work in natural light and take breaks to avoid fatigue and mistakes. Don’t forget to protect floors and furniture with drop cloths as well.
What should I do after painting walls?
After painting walls, it is important to clean up any spills or drips and properly dispose of any used paint and supplies. Remove any tape or protective coverings while the paint is still wet to avoid peeling. Allow the paint to fully dry before touching or moving any furniture back into place. Lastly, enjoy your newly painted walls!
