Painting can transform a space, but even experienced DIYers can make common mistakes. Whether you’re refreshing a room or tackling a larger project, overlooking key steps can lead to disappointing results.
From improper surface preparation to using the wrong tools, these pitfalls can waste time and resources. This guide covers the most frequent painting errors and offers practical tips to help you achieve a flawless finish every time.
Read on to elevate your painting skills!
Common Painting Mistakes

In the realm of DIY painting, one encounters a veritable cornucopia of common mistakes that even the most seasoned painters might stumble upon. These blunders often arise from insufficient planning, a lack of meticulous surface preparation, or the all-too-frequent urge to rush through the project, neglecting vital considerations like paint quality and application techniques.
To achieve that coveted flawless finish, it is paramount to recognise these pitfalls and embrace best practices that can safeguard against painting errors. Whether embarking on an interior or exterior painting endeavour, steering clear of these missteps will undoubtedly save one time, money, and perhaps a few exasperated sighs.
1. Not Preparing the Surface Properly
One of the most egregious errors one can commit in the art of painting is failing to adequately prepare the surface, a misstep that often leads to disappointing results and a fair amount of exasperation.
When striving for a flawless finish, surface preparation is not merely important; it is absolutely paramount. A thorough cleaning to eliminate dirt and grease is essential, as these pesky contaminants can impede the paint’s adherence, rather like overly friendly guests at a party.
Sanding the surface serves two delightful purposes: it smooths out imperfections and creates a rough texture that helps the new paint hold on like a determined guest at a swanky gala. Neglecting these vital steps can lead to peeling or chipping—common missteps that can be rather costly down the line.
Applying a primer is akin to laying a solid foundation before building a mansion; it ensures that vibrant colours pop and longevity is maximised. Thus, dedicating time to proper preparation can significantly elevate the final outcome, transforming a potential disaster into a masterpiece.
2. Using Cheap or Low-Quality Materials
Using cheap or low-quality painting materials can lead to a veritable disaster, transforming your artistic vision into a haunting tableau of peeling and fading in a matter of months.
In contrast, opting for high-quality paint and tools can significantly elevate both the durability and aesthetic appeal of your finished masterpiece. The right paint not only adheres remarkably well—minimising the chances of those unsightly chips and stains—but also offers superior coverage, allowing the true colour to shine without the need for multiple coats.
Furthermore, selecting the appropriate paint finishes, whether matt, eggshell, or glossy, can add that extra dash of flair, enabling designers to craft spaces that not only reflect their unique style but also withstand the relentless passage of time. After all, why settle for mediocrity when you can paint a masterpiece?
3. Not Using a Primer
Skipping primer may initially appear to be a clever time-saver, but it’s a shortcut that can lead to significant costs in the quality of your paint job.
Picture this: you step back, brimming with pride as you admire your freshly painted wall, only to witness it peeling away faster than your resolve on a diet. Without a solid primer, that carefully chosen paint may suffer from adhesion issues, resulting in a finish that resembles a midlife crisis—flaky and fading.
The role of primer transcends mere aesthetics; it fills in those tiny surface defects, providing a smoother canvas for the paint to cling to. Consider it the protective layer that confidently asserts, “I’ve got your back!” Without it, your paint might decide to take an unscheduled holiday, leaving you with a finish that even your least discerning friends would find hard to overlook.
4. Not Mixing Paint Properly

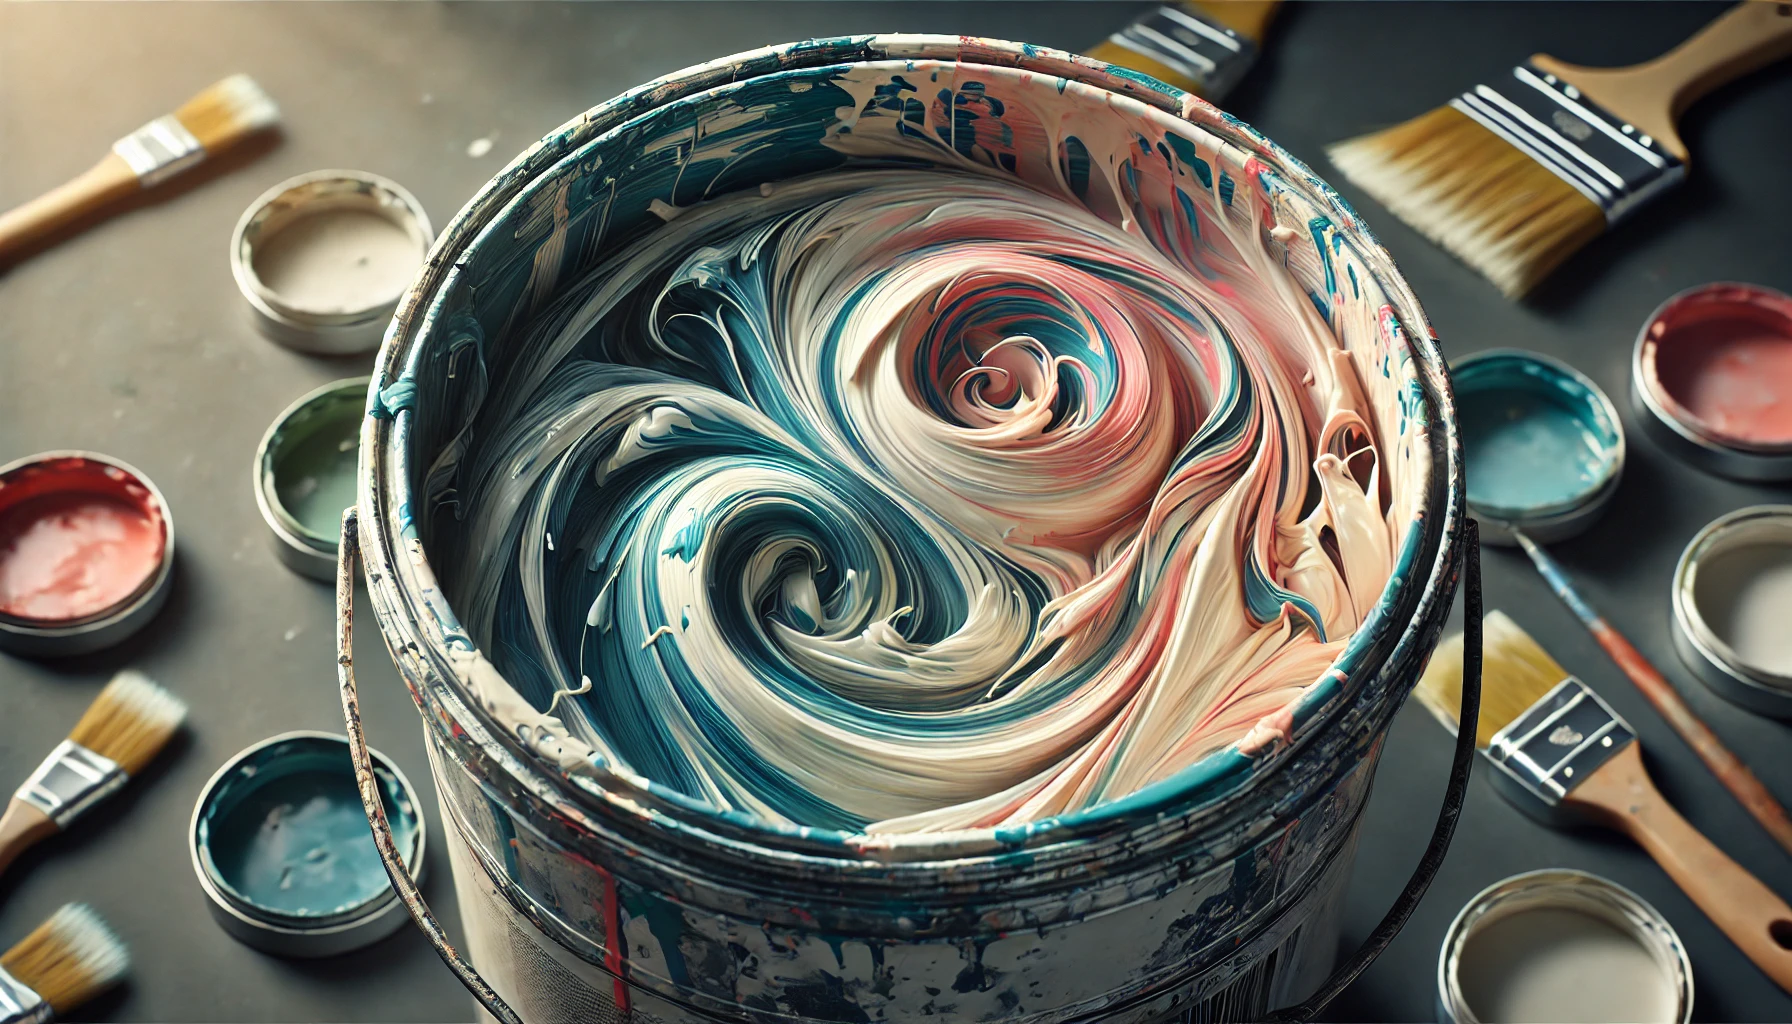
If one believes that mixing paint is as simple as giving it a casual swirl, it’s time for a reality check! Improper mixing can usher in a plethora of problems, ranging from inconsistent colours to texture catastrophes.
Picture this: you embark on an ambitious painting endeavour, only to find that your lively blue has inexplicably morphed into a lacklustre grey. This is precisely where the importance of meticulous mixing comes into play.
To attain the ideal consistency, one must master the fine art of paint thinning, ensuring that every drop waltzes in perfect harmony with its companions. Whether employing a trusty paint stick or a more robust power mixer, it’s imperative to blend thoroughly and keep an eye out for those mischievous lumps.
Do keep in mind, the textures you conjure can elevate your creation to new heights, so don’t shy away from a bit of experimentation! A dash here, a splash there, and voilà—your canvas is primed for a stunning transformation!
5. Not Using the Right Tools
Selecting the incorrect paint tools can resemble attempting to bake a cake without a whisk; the outcome is unlikely to meet one’s expectations! The right tools are crucial for achieving that perfect finish, whether one is meticulously applying fine brush strokes for detailed artistry or employing roller techniques to cover larger surfaces with impressive speed.
Each method boasts its own distinct advantages, influencing everything from the texture to the smoothness of the paint application. For instance, wielding a high-quality brush can produce sharp lines and facilitate intricate designs, while rollers excel at delivering a uniform coat across expansive areas.
The choice of tools not only influences the painting process but also significantly impacts the longevity and visual appeal of the finished product. This underscores the importance of investing time in selecting the appropriate tools to ensure truly gratifying results.
6. Not Using the Right Techniques
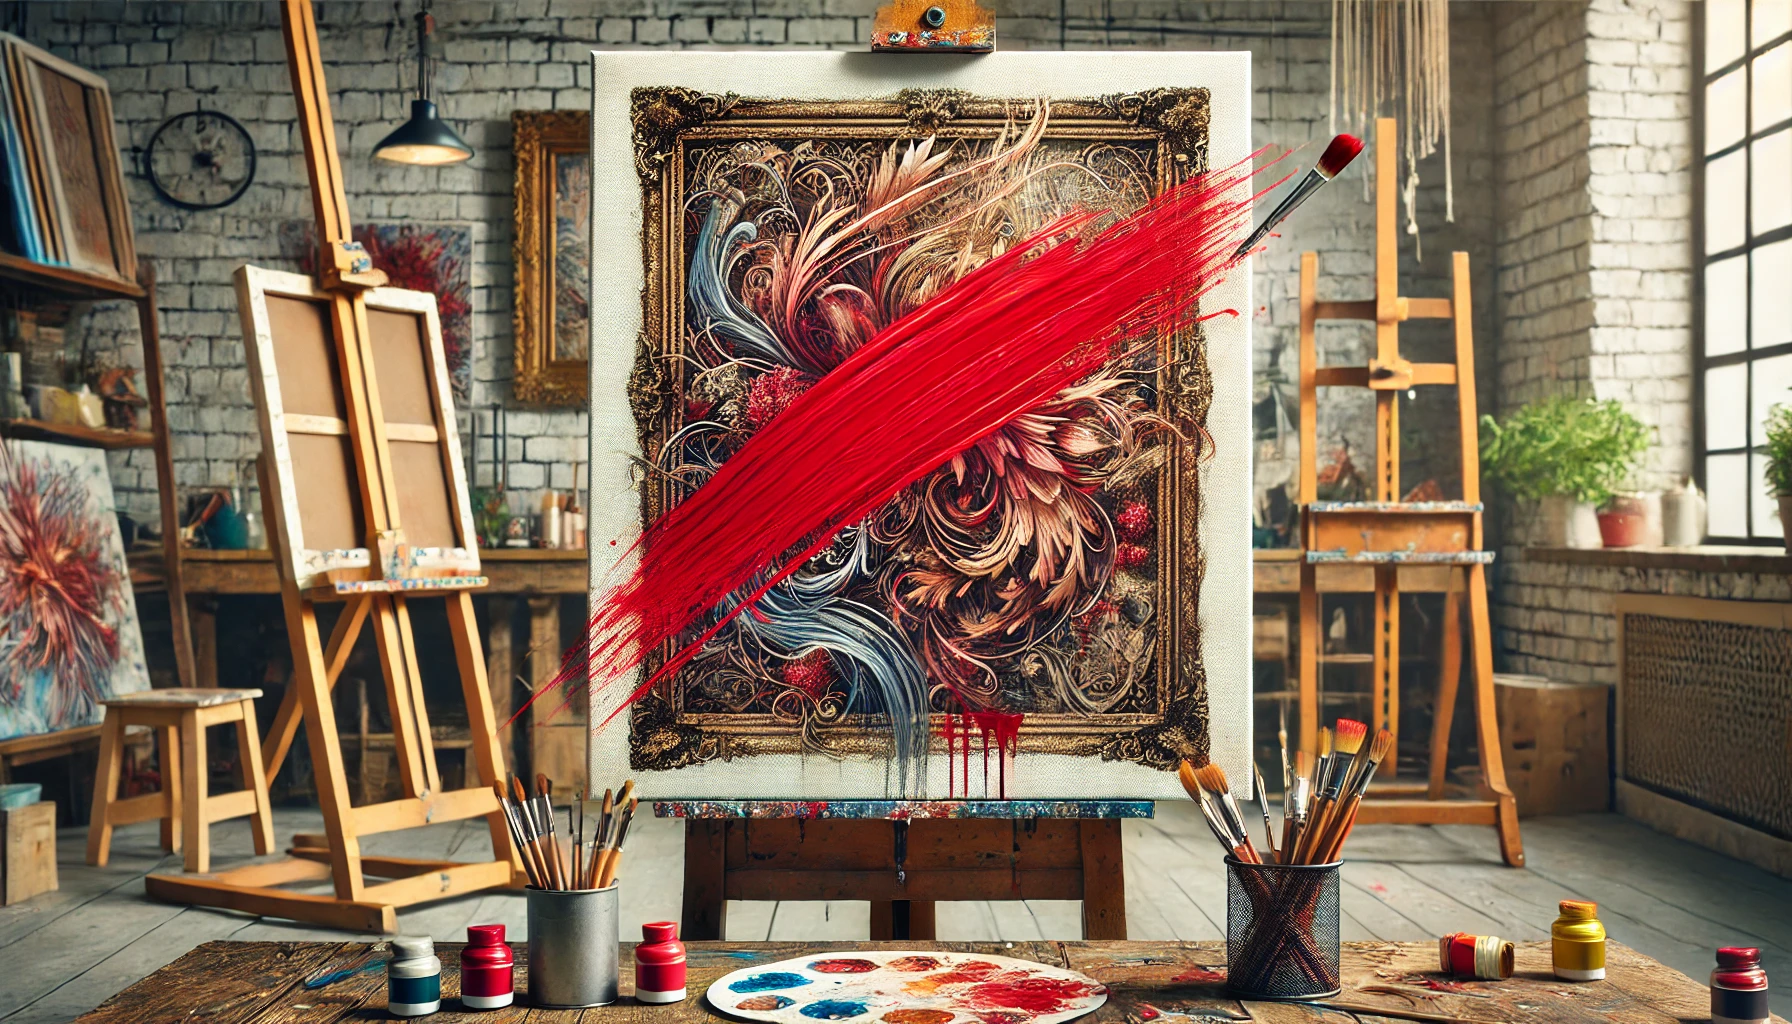
Employing incorrect painting techniques can lead to a veritable cornucopia of disasters, including uneven finishes, streaks, and those notorious paint drips that threaten to sabotage the entire endeavour.
Picture, if you will, a home décor enthusiast who unwittingly transforms a tranquil wall into a chaotic masterpiece, all due to a less-than-meticulous application. When essential methods like cross-hatching are overlooked, the paint may spread unevenly, resembling a toddler’s finger painting rather than an elegant accent wall.
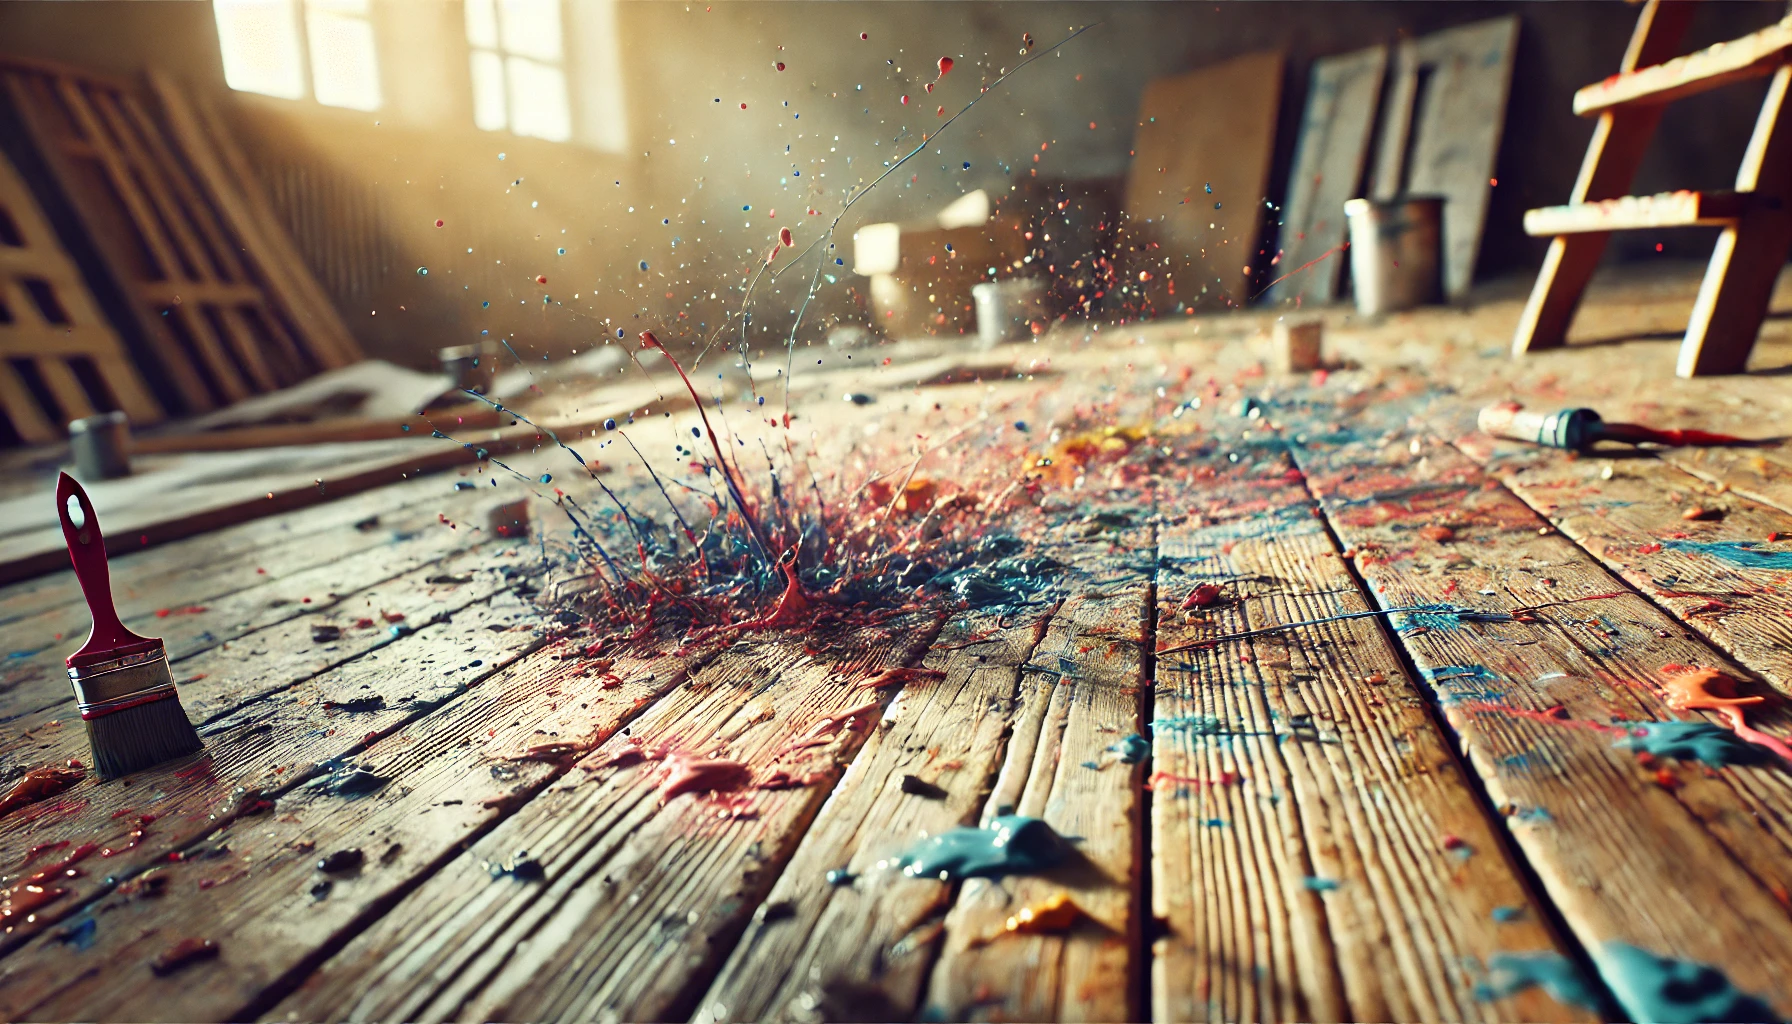
Equally vital is the art of edge control; without it, one might end up with colourful borders that could easily be mistaken for avant-garde abstract art. A casual glance at an unintended paint splatter might prompt chuckles, suggesting a modern art installation, but in reality, it serves as a cautionary tale of what occurs when techniques are poorly executed.
7. Rushing the Painting Process
Rushing through the painting process might seem like a clever way to save time, but it often results in costly blunders that will linger long after the paint has dried.
In the pursuit of a rapid finish, one might inadvertently create a canvas adorned with more drips and runs than artistic strokes, transforming what should be a simple room refresh into a chaotic modern masterpiece.
Planning is the unsung hero in this endeavour; it’s akin to organising a dinner party—without a proper menu, one risks serving a bewildering assortment of leftovers alongside charred offerings.
Embracing the drying time and curing process isn’t merely advisable; it’s crucial for achieving that pristine finish. After all, who desires the unwelcome surprise of a ‘texture feature’ where a sleek wall should grace the room?
So, settle in with a snack, enjoy your tea, and remember: good things come to those who wait—especially when it comes to the art of painting!
8. Not Allowing Proper Drying Time
If there’s one aspect of painting that merits utmost attention, it’s the drying time—because nobody wants their masterpiece tarnished by unsightly smudges!
Rushing the drying process can yield uneven finishes, ultimately compromising the visual appeal of the entire project. When paint fails to cure properly, it becomes prone to chipping, flaking, and discolouration, which may necessitate excessive touch-ups or, in some cases, a complete repaint.
The curing process is paramount for ensuring a robust bond between the paint and surface, allowing it to brave the elements and the rigours of daily life. Exercising patience during this stage not only enhances the longevity of the finish but also guarantees a smooth, even coat that elevates the overall aesthetic.
To disregard this vital step could lead to outcomes that fall woefully short of expectations, undermining the hard work invested in the initial application.
9. Not Protecting Surrounding Areas

Neglecting to safeguard surrounding areas during a paint job can swiftly transform your immaculate space into an unintended masterpiece of errant paint splatters, drips, and spills.
Imagine the sheer horror of entering a room, only to discover vibrant blue paint adorning your carefully selected beige carpet or, heaven forbid, that cherished antique coffee table inherited from dear grandma. The thought alone is enough to send chills down one’s spine.
Proper tape application and masking techniques are not merely friendly suggestions; they are essential for preserving the clean lines that differentiate a professional finish from a careless endeavour. Employing protective gear, such as gloves and goggles, not only ensures safety but also spares you the future agony of scrubbing paint off the floor.
Visualise a delightful afternoon of painting quickly devolving into a chaotic clean-up operation—all due to the oversight of these essential steps. A modicum of foresight could have spared you countless hours of frustration and transformed a potential disaster into a triumph.
10. Not Cleaning Up Properly
The cleanup process may initially seem like an insurmountable task, yet neglecting it can result in sticky brushes and leftover paint that could have been properly stored.
Consider this: failing to tidy up can transform your artistic sanctuary into a chaotic disaster zone. Picture reaching for a brush only to discover it has hardened into something akin to a brick—good luck crafting your next masterpiece with that!
And let’s not forget about the paint. When not stored appropriately, it could spoil, leaving you with a mess that drains both your creativity and your purse. Thus, proper cleanup is not merely about maintaining tidiness; it’s about ensuring your tools are ready for the next brilliant idea while preventing your storage area from becoming an abstract masterpiece that would baffle even Picasso.
Frequently Asked Questions
What are some common painting mistakes to avoid?
Some common painting mistakes to avoid include not properly prepping the surface, using the wrong type of paint for the surface, not using primer, not allowing enough drying time between coats, and not using the correct painting techniques.
How can I avoid making a mess while painting?
To avoid making a mess while painting, make sure to cover and protect any surfaces or areas that you don’t want to get paint on. Use drop cloths or plastic sheets to cover floors and furniture, and use painter’s tape to protect trim and edges.
What should I do if I make a mistake while painting?
If you make a mistake while painting, don’t panic! Let the paint dry completely and then gently sand the area to smooth out the mistake. You can also use touch-up paint to fix any small mistakes.
Why is it important to use primer before painting?
Using primer before painting is important because it helps the paint adhere better to the surface, provides a more even finish, and can help cover up any imperfections or stains on the surface.
How can I avoid getting brush strokes in my paint?
To avoid getting brush strokes in your paint, use a high-quality brush and make sure to apply the paint in thin, even coats. You can also try using a foam roller for a smoother finish.
What is the best way to clean up after painting?
After painting, make sure to clean up any spills or drips right away to prevent them from drying and becoming more difficult to remove. Use warm soapy water to clean your brushes and other painting tools, and wipe down any surfaces that may have gotten paint on them.
