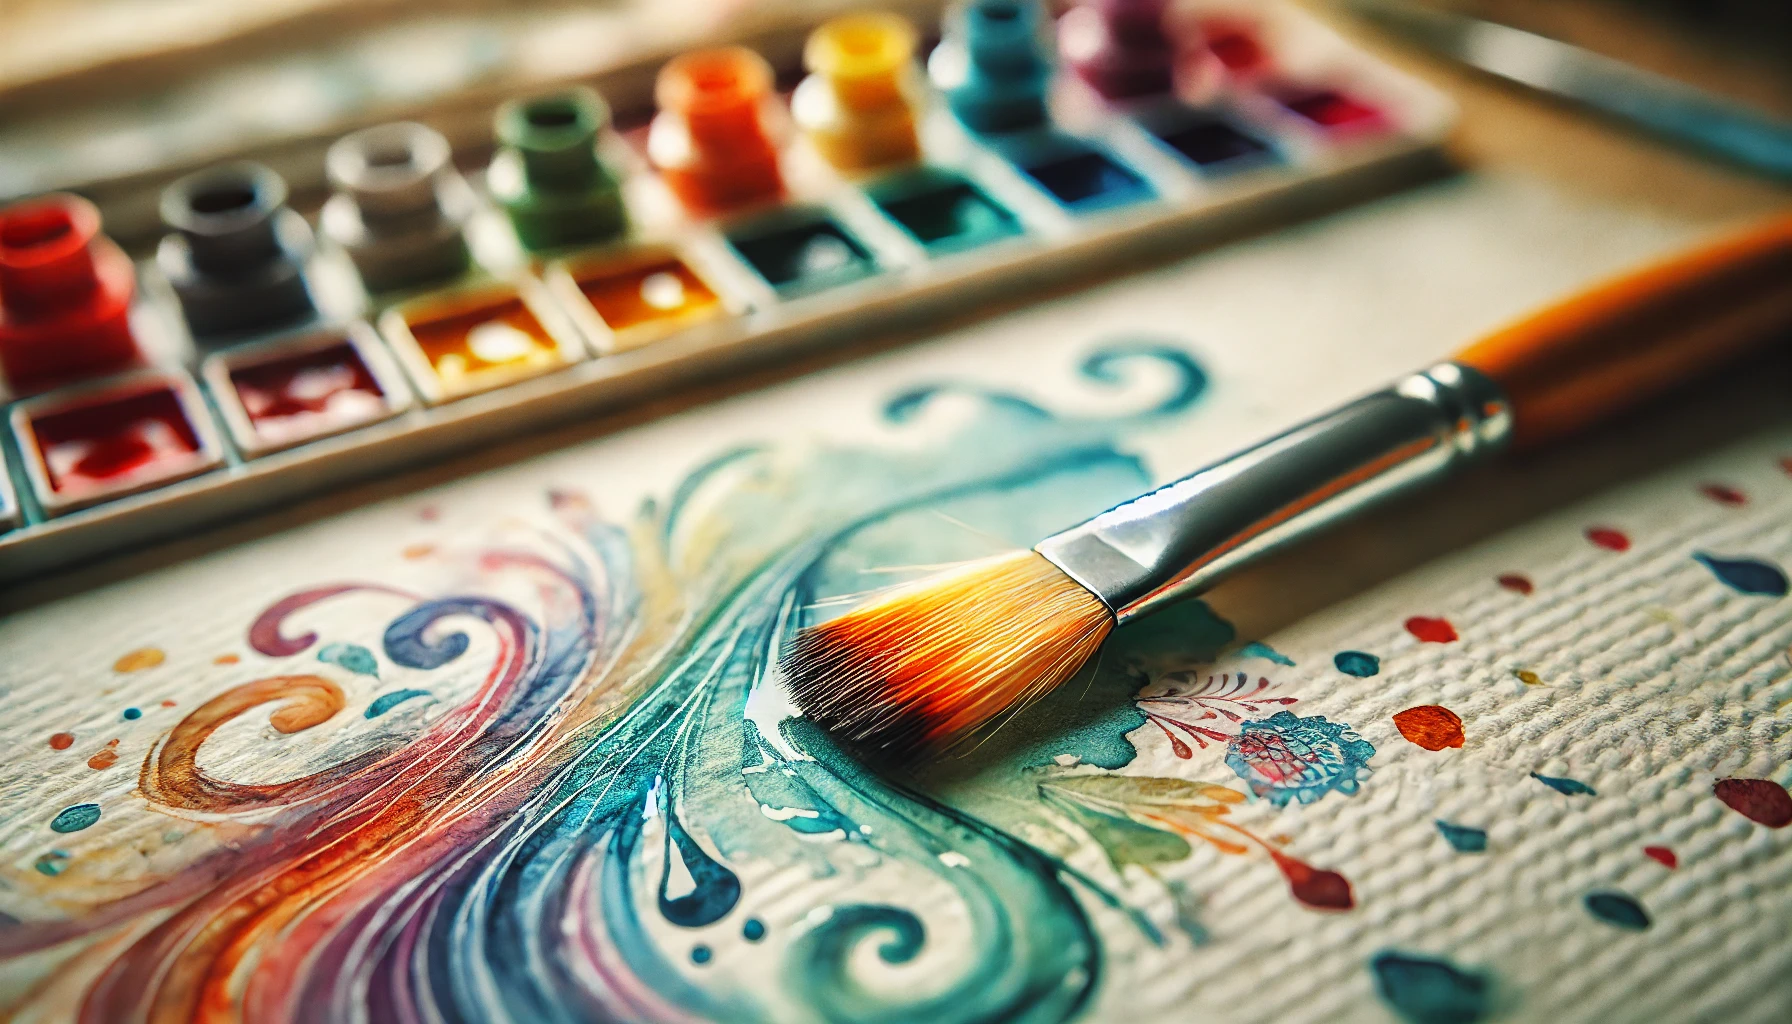
Watercolour painting is a captivating art form that combines the fluidity of water with vibrant colours, allowing artists to create stunning, ethereal works.
This guide covers the various types of watercolour paints, essential materials needed, how to paint with watercolors, and how to prepare for an enjoyable painting session.
It also explores fundamental techniques, tips for creating unique textures, and ways to fix common mistakes.
Whether you’re a beginner or looking to refine your skills, this guide will inspire your artistic journey with watercolours.
What Are Watercolors?
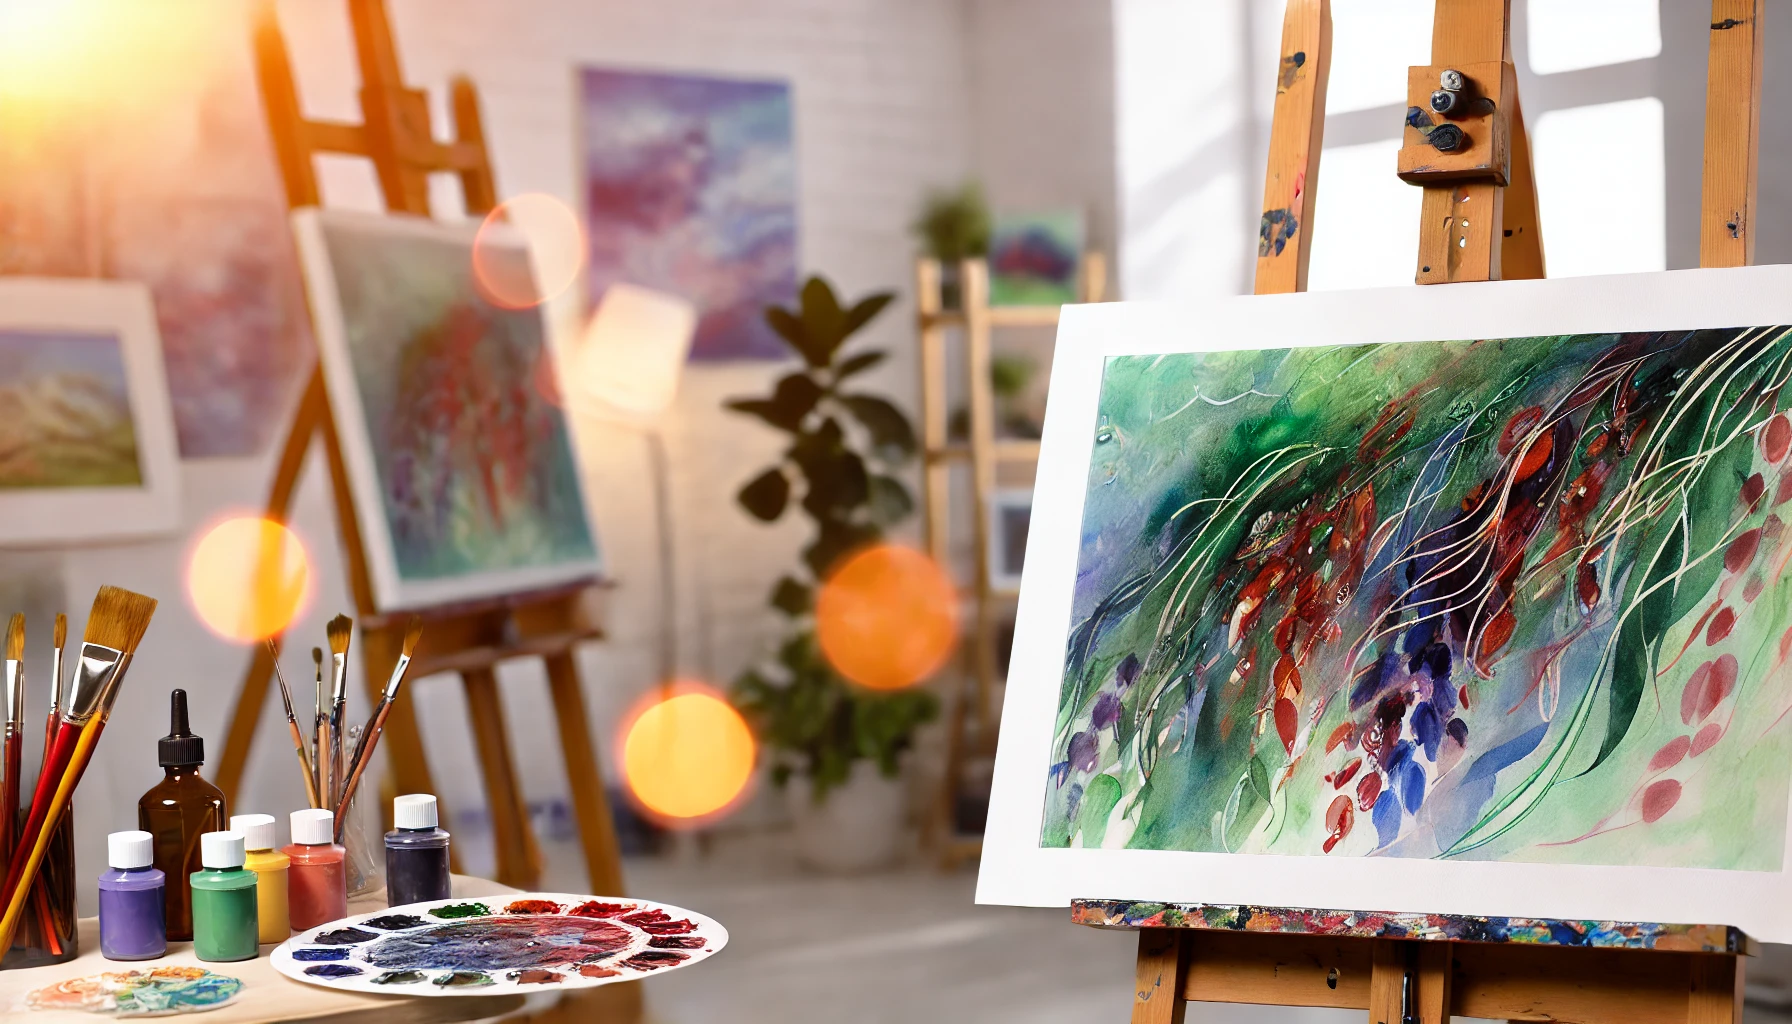
Watercolours are like the chameleons of the art world—versatile and downright enchanting, bringing a splash of transparency and luminosity that can make anyone swoon.
Whether I’m a novice just dipping my toes into the painting pool or a seasoned professional trying to polish my skills, watercolours feel like endless possibilities waiting to be unleashed.
From breathtaking landscapes that could make Mother Nature jealous to floral compositions that practically smell like a garden, this medium dares me to get a little wild and embrace my inner artist.
Plus, there’s something delightfully challenging about mastering the delicate dance of colour mixing and texture—it’s like a waltz, but with paint!
What Are the Different Types of Watercolour Paints?
In terms of watercolours, the options are as varied as my moods—ranging from tube watercolours to pans and liquid concoctions that could make a chemist jealous.
Each type of watercolour paint has its own quirky personality, allowing me to experiment with textures, blending techniques, and effects, whether I’m trying to perfect a lifelike portrait or dive headfirst into the wild world of abstract art.
With so many choices available, getting to know these differences is like progressing in my artistic journey. It’s time to hone my painting skills and unleash my inner Picasso!
1. Tube Watercolours
Tube watercolours? Oh, they’re my secret weapon! I’m completely in love with their rich pigment and high saturation. They’ve got this vibrant colour mixing magic that can take any painting project from “meh” to “wow!” These concentrated beauties give me the freedom to unleash my spontaneous creativity, whether I’m splashing on washes or diving into detailed brush strokes.
What I adore about them is their knack for flipping between transparent layers and opaque textures. They really allow me to explore a whole spectrum of styles. I can go from the delicate details of botanical illustrations to the bold, wild expressions of abstract art—tube watercolours just roll with my artistic punches.
And let’s talk about that intense pigmentation. A little goes a long way, making them budget-friendly for both the professionals and the budding artists like me. Whether I’m out in nature doing some plein air painting or cosy up in my studio, these versatile paints help me create stunning gradations and vibrant colour interactions. They definitely inspire me to dive deeper into my artistic adventures!
2. Pan Watercolors
Pan watercolours are my secret weapon when I’m on the move, offering a portable option that nails the convenience factor without skimping on quality. These little solid watercolour cakes are perfect for everything from quick sketches to spontaneous creative bursts, making them a favourite among watercolour enthusiasts like me.
Their compact design fits like a glove in my rucksack or art bag, which is a total win for plein air painting or urban sketching. Let’s be honest, who wants to lug around a full studio when you can have all the fun in your bag?
I absolutely love the vibrant colour options in pan sets—they let me go from painting intricate landscapes to diving headfirst into bold abstracts without breaking a sweat. Techniques like wet-on-wet and glazing are a breeze with pans, letting me layer colours and add depth like a pro.
Plus, the quick drying time means I can whip up masterpieces on a busy street corner or a serene park bench, all while channelling my inner artistic genius in real time.
3. Liquid Watercolors
Liquid watercolours are like the party animals of the art world—full of fluidity and vibrancy, ready to jazz up my creative game. They’re perfect for anyone who wants to dive into layering techniques and get their saturation on.
Plus, mixing them with other media is like opening a treasure chest of creative possibilities, giving me all sorts of unique textures and effects to play with.
Their transparent nature isn’t just for show; it enhances the luminosity of colours and invites me to experiment with gradients and blends, crafting visual tales that keep people coming back for more.
Whether I’m a seasoned pro or just dipping my toes into the art pool, the ability to manipulate hues and achieve those lovely soft washes makes liquid watercolours a must-have in my creative arsenal.
With a little experimentation using different brushes and application techniques, I can create stunning depth and dimension, turning every piece into a dynamic showcase of my individuality.
What Materials Do You Need for Watercolour Painting?
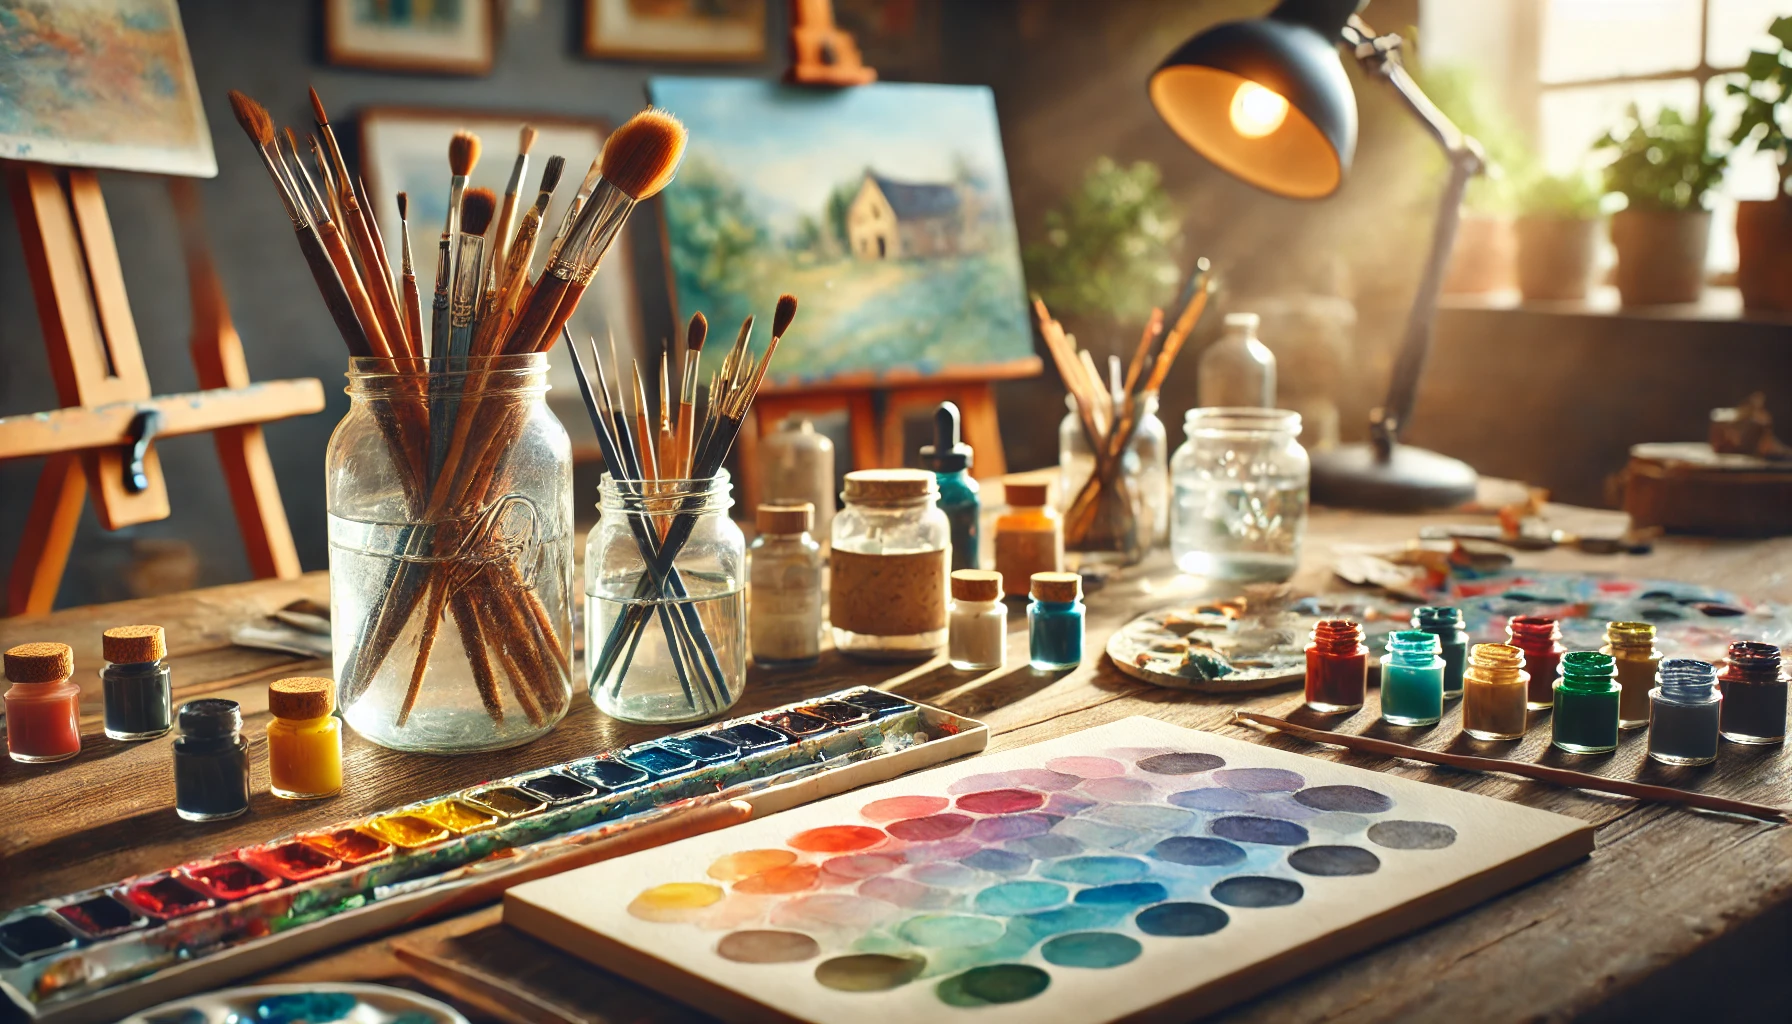
Diving into the world of watercolour is like gearing up for an artistic adventure, and I’ve got to have the right kit to make it epic. Think of it as assembling my trusty sidekicks: high-quality watercolour paper, a delightful mix of brushes, and palettes that practically scream, “Let’s get creative!”
Each piece is essential in my painting process, ensuring I can unleash my inner Picasso and try out all sorts of painting techniques without breaking a sweat. Let the splashes of creativity begin!
1. Watercolour Paints
Watercolour paints come in a delightful array of types, each with its own quirks that can totally shake up the saturation, transparency, and colour mixing in my masterpieces. Picking the right watercolour is like choosing the perfect outfit for a first date—it’s crucial for nailing those effects in my landscape, still life, or abstract escapades.
Take student-grade paints, for example. They’ve got a lighter pigment load, meaning their saturation is like a shy wallflower at a party. But hey, they’re easy on the wallet, making them the go-to for beginners who want to dip their toes in.
On the flip side, professional-grade watercolours are like the life of the party—packed with concentrated pigments that deliver colours so vivid they could blind a raccoon. This intense saturation lets me dive deep into hues and gives me all the freedom in layering techniques and wash applications.
Every type of paint plays a role in the final masterpiece, nudging artists like me to think about lightfastness and colour stability, which are key to ensuring my creations don’t fade away faster than my motivation to hit the gym.
2. Watercolor Paper
The choice of watercolour paper can really make or break my artwork. It’s like picking the right dance partner; different textures, weights, and absorption qualities can tango with my paint in unexpected ways, affecting everything from drying time to the final look. When I grab the right paper, it’s like gaining a superpower—suddenly, I have more control over my painting techniques, and my creations shine even brighter.
As I dive into the wonderful world of watercolour paper, I uncover a delightful range from rough to hot-pressed—each one a unique canvas that caters to my artistic whims. Heavier weights are my trusty sidekicks, soaking up excess water and pigment like pros, which is crucial for techniques like wet-on-wet, where I need to be on my toes.
Choosing between a smooth texture for those meticulous details or a more textured surface for dynamic brush strokes is a game changer. It’s all about setting the vibe and mood of my artwork. Understanding these little quirks of watercolour paper takes my creative experience to the next level, making me feel like I’m truly connecting with my medium.
3. Brushes
Investing in a variety of brush types is my secret weapon for mastering watercolour techniques. Different brushes can whip up a whole range of effects and strokes that really bring my artistic vision to life. Whether I’m going for fine details or broad washes, the right brush is like my magic wand, enhancing my blending and layering skills—it’s definitely a must-have in my creative toolkit.
When I’m on the hunt for brushes, I always grab round ones for their versatility. They’re perfect for everything from detailed line work to covering large areas. Flat brushes? Oh, they’re my go-to for creating those crisp edges and large swathes of colour—ideal for those background washes that need a little love.
Then there are mop brushes, the softies of the bunch, excelling at softening edges while holding enough water to create some dreamy atmospheric effects. Fan brushes bring the texture and can whip up unique foliage patterns that make my landscapes stand out. And let’s not forget about liner brushes, which are perfect for those intricate details that make my pieces shine. Understanding these quirks helps me pick the best brushes that resonate with my style and desired outcomes.
4. Palette
A well-organised palette is like the secret sauce for any watercolour painter—it transforms the whole game. It creates a vibrant playground for mixing colours and experimenting with shades. Choosing the right palette is like finding the perfect dance partner; it streamlines my process and makes executing various painting techniques feel like a breeze, all while keeping my colours in delightful harmony.
I can’t stress enough how crucial a good palette is; it’s the unsung hero that boosts my creativity and efficiency. By using different types of palettes—whether they’re folding, plastic, or ceramic—I can wrangle my pigments like a pro.
Take a divided palette, for example; it’s a quick-access pass to primary colours and their mixes, making decision-making while I paint as swift as a ninja.
Placing colours effectively is key for achieving those smooth transitions and avoiding muddy tones that can ruin my masterpiece. Ultimately, taking a thoughtful approach to palette selection and organisation makes my painting experience not just productive, but downright enjoyable!
5. Water Container
A trusty water container is my secret weapon for keeping the creative juices flowing during watercolour sessions. It lets me rinse my brushes and maintain that artistic mojo without skipping a beat. You’d be surprised how the size and quality of my water container can either boost my efficiency or send me on a wild goose chase for clean water.
Having the right container not only keeps my workspace looking less like a paint explosion and more like an organised zone of genius, but it also streamlines my entire workflow. The perfect-sized container means I can grab clean water without having to make a mad dash to the sink every five minutes, allowing me to dive deeper into my artwork instead.
Plus, a well-designed container helps prevent spills—because nobody wants a watercolour masterpiece turned into a water park. With my water right at my fingertips and easy to manage, I can focus on technique and colour blending without missing a beat in my creative rhythm.
6. Masking Tape
Masking tape is my secret weapon for creating those oh-so-clean edges and sharp borders in my watercolour masterpieces. It’s like having a trusty sidekick for all my masking adventures! When I team it up with some masking fluid, it’s like I’ve unlocked an extra level of control over the areas I want to keep pristine while I paint.
Using masking tape doesn’t just give me those crisp lines that make my work look polished—oh no, it also lets me play around with different painting techniques. By neatly defining my spaces, I can layer colours without the anxiety of them blending together like they’re at a bad party. I can slap that tape down to mask off larger sections, giving me the freedom to dive into the intricate details elsewhere.
This dynamic duo not only boosts the quality of my artwork but also enables me to whip up a whole range of textures and effects. The end result? A captivating visual experience that keeps viewers guessing and appreciating the magic behind each brushstroke!
7. Pencil and Eraser
I can’t stress enough how a simple pencil and rubber are the dynamic duo of watercolour painting. They’re like the opening act before the main event, helping me sketch out outlines and plan my composition before I dive into the colourful chaos. By mapping out my subject matter, I set the stage for a magical blend of watercolour techniques.
This first step is where I get to visualise my brilliant ideas and build a solid framework that guides every brushstroke. With my trusty pencil in hand, I can make all the adjustments I need, ensuring that proportions and details are spot on. And let’s not forget the rubber—my secret weapon for refining lines and swooshing away mistakes without throwing the whole design into disarray. This meticulous prep work boosts my confidence, leading to a painting experience that flows as smoothly as my favourite playlist.
By laying down strong outlines, I make sure those vibrant colours and delicate washes pop against the thoughtfully sketched shapes, creating a masterpiece that even I can’t believe I made!
How to Prepare for a Watercolour Painting Session?
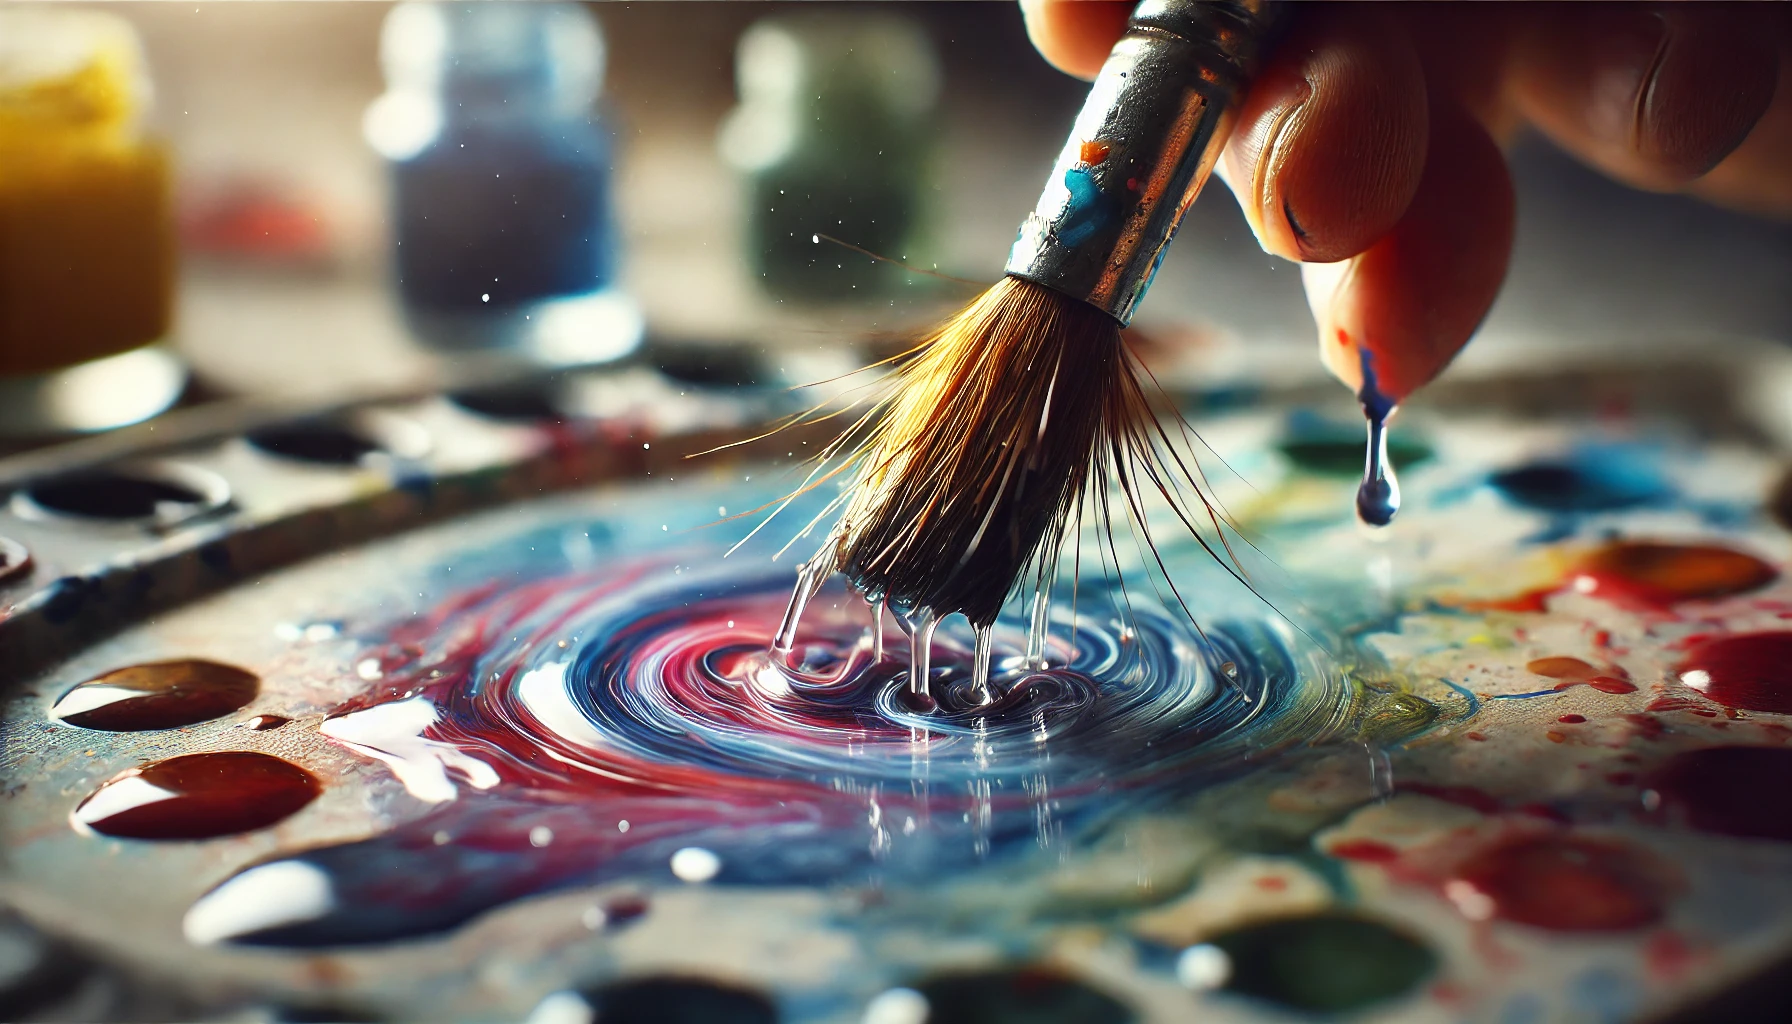
Getting ready for a watercolour painting session is like assembling a treasure map—careful planning is key!
I start by picking a subject that speaks to me and setting up a workspace that practically shouts “create!” With the right backdrop, I’m ready to unleash my inner Picasso.
From choosing a captivating subject to mastering the art of colour mixing (which feels more like a science experiment half the time), every step helps me create an atmosphere perfect for diving deep into my artistic adventures.
1. Choose a Subject
Choosing a subject is the first step on my watercolour adventure, and let me tell you, it’s a thrilling mix of excitement and a little head-scratching. The right subject can set my creative juices flowing and steer my artistic expression in the right direction.
Whether I’m drawn to landscapes that scream “breathe me in,” a still life that begs for a second look, or abstract art that’s just plain fun, finding something that resonates with me is essential.
Exploring various themes is like going on a treasure hunt—who wouldn’t want to capture the serene beauty of a sunset, the delicate chaos of a floral arrangement, or the vibrant hustle and bustle of urban life? It really helps me connect with my work on a deeper level.
When I engage with my surroundings, whether it’s sketching in the great outdoors or capturing the little moments of everyday life, I often stumble upon subjects that feel personal and oh-so-satisfying. Plus, experimenting with different art styles—like diving into impressionism or getting real with realism—helps me figure out which subjects ignite that creative fire in me, making my artistic journey all the more exciting.
2. Set Up Your Workspace
Setting up my workspace is like laying the groundwork for a masterpiece; a cosy and organised environment boosts my focus and lets my creativity flow like a river of paint. I make sure to think about things like lighting, ample space for my art supplies, and easy access to my brushes and paints—because nobody wants to go on a treasure hunt in the middle of a painting session.
A well-planned setup doesn’t just spark creativity; it also keeps distractions at bay, letting my artistic expression run wild. I’ve learned that using a sturdy table at the right height saves my back during those marathon painting sprees. Plus, investing in labelled containers for my paints and brushes means I can snag the exact tool I need without playing a game of “Where’s Wally”.
I swear by good natural light or top-notch lamps—they’re my secret weapons for spotting those tricky colour variations essential in watercolour techniques. And let’s not forget a comfy chair that promotes good posture. After all, physical comfort is my ticket to a productive art experience, and I’m all in for that!
3. Practice Colour Mixing
Practising colour mixing? Oh, it’s like the secret sauce for any watercolour artist! Getting cosy with the colour wheel, saturation, and transparency is key to whipping up those harmonious blends and breathtaking gradients that make your artwork pop.
Diving into different pigments and blending techniques? That’s my ticket to unleashing my creative genius.
I’ve learnt that getting familiar with the three primary colours, secondary colours, and those fancy tertiary colours can really jazz up the vibrancy and depth of any piece. To truly nail the art of watercolour painting, I’ve found that whipping up a colour chart is a game-changer. It’s like my personal cheat sheet for how different hues play nicely when blended.
And let’s not forget saturation levels—because who knew that a splash more water could turn a bold hue into a whisper of colour while holding back the H2O could deepen those tones?
By practising these techniques regularly, I’m sharpening my eye for picking colours that not only get along but also elevate the overall vibe of my masterpieces.
What Are Some Basic Watercolour Techniques?
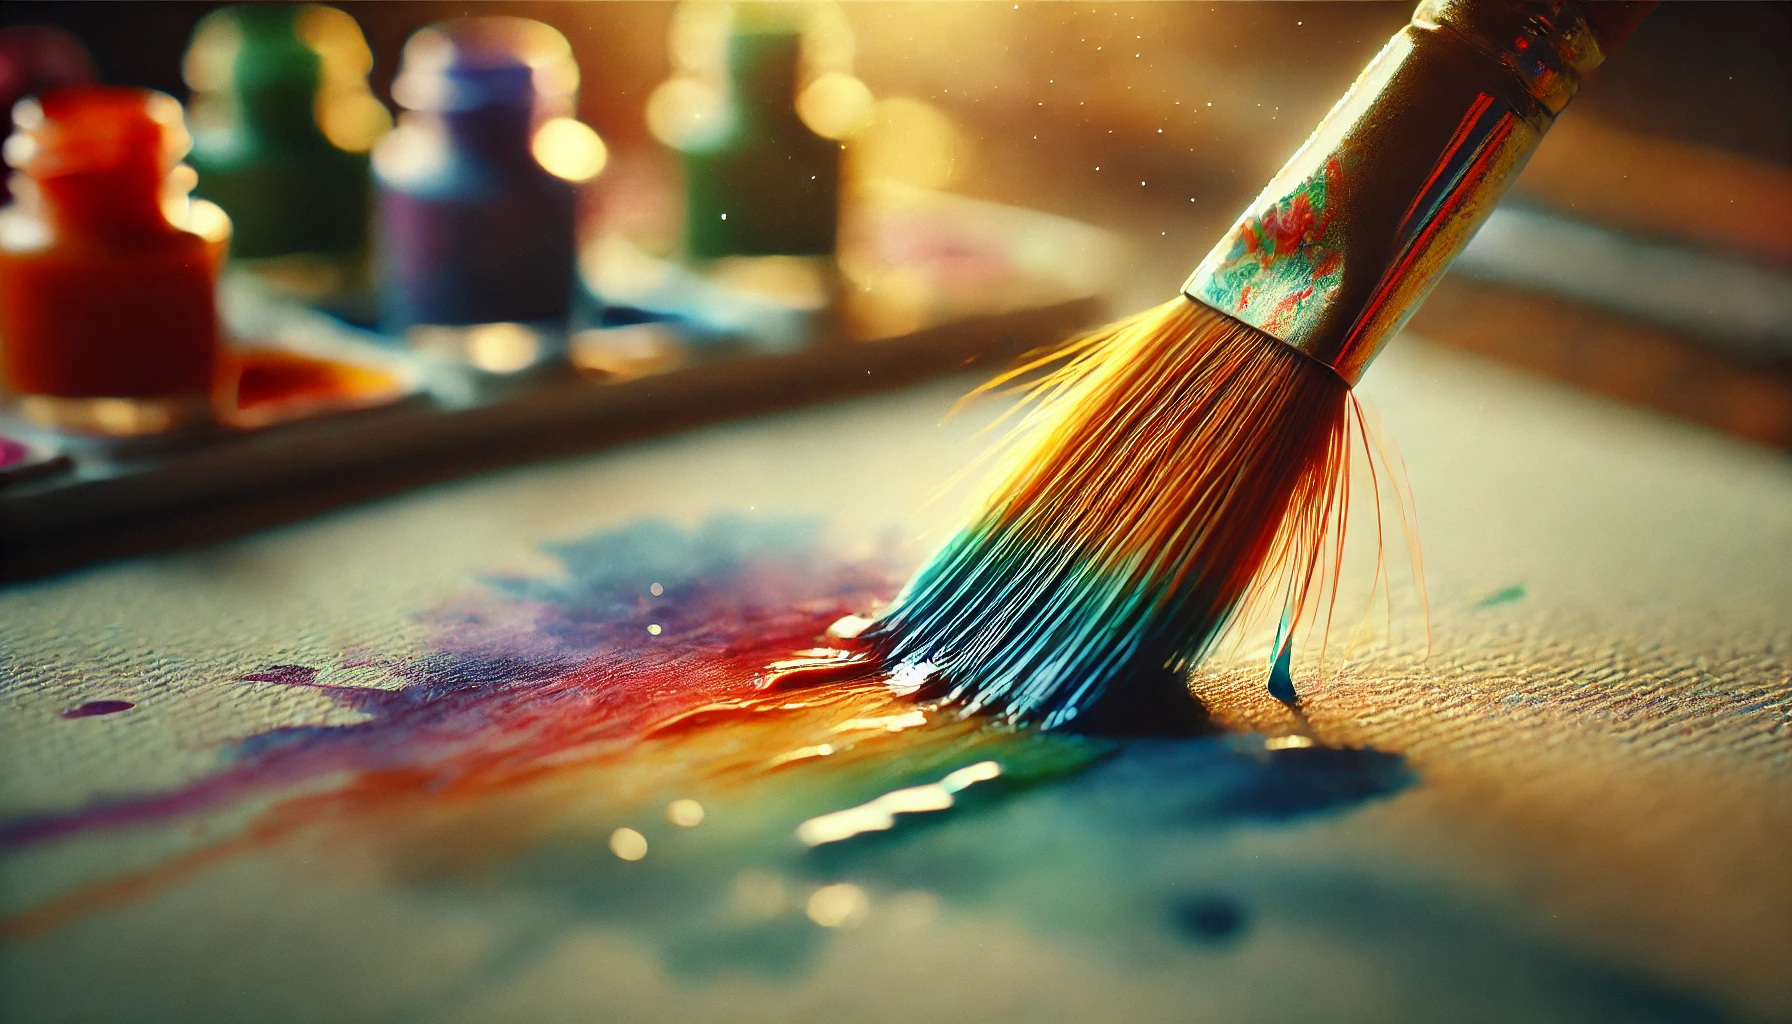
Mastering the basics of watercolour techniques is like finding the magic wand for any aspiring artist—it’s essential! These skills are the secret ingredient that set the stage for all those fancy, advanced artistic moves.
Whether I’m diving into the whimsical wet-on-wet technique or getting all meticulous with the dry brush approach, each method opens up a treasure trove of possibilities for blending, layering, and conjuring up some seriously stunning visual effects.
Who knew painting could feel this much like wizardry?
1. Wet-on-Wet Technique
The wet-on-wet technique is like the magic wand of watercolour painting. Picture this: I slather wet paint onto a wet surface, and voilà! I get these beautifully blended effects and soft edges that make my artwork look like it’s floating in a dream. Of course, this approach requires some serious moisture management—too much, and I’m swimming; too little, and things get crusty.
For anyone diving into this technique, I’ve learned that balancing water and pigment is essential. A generous splash of water on the paper creates those luscious washes, while keeping the paint just damp enough helps me achieve those captivating soft transitions. It’s all about finding that sweet spot.
Getting a little adventurous with different styles can lead to some seriously delightful surprises. I’ve discovered that fluid landscapes and abstract compositions can evoke all sorts of emotions. To really nail this technique, I’ve got to practise layering water and observe how the colours interact. This way, I can harness the versatile magic of wet-on-wet to create dynamic masterpieces that even I can’t stop staring at!
2. Dry Brush Technique
The dry brush technique is my secret weapon for adding texture and detail to my watercolour masterpieces. Picture this: I wield a brush with just the right amount of moisture, and voilà—striking effects that make my paintings pop! This technique is a layering champion, allowing me to add depth and dimension like a pro.
When I apply paint sparingly on dry paper, I can whip up a dazzling array of textures that can resemble everything from rugged landscapes to the softest petals. Not only does this method enliven the overall look, but it also encourages me to have a little fun with colour and form.
As I drag my brush across the surface, the slight resistance reveals intricate patterns and details that would be nearly impossible to capture otherwise. Mixing those dry brush strokes with wet layers? Now that’s where the magic happens, creating a stunning contrast that invites viewers to dive into every little nuance of my artwork.
Embracing this technique has truly elevated my creative expression, inspiring me to explore new possibilities that I never knew existed in my work.
3. Glazing Technique
The glazing technique is my secret weapon for infusing depth and richness into my artwork. It’s all about layering transparent colours over dried paint, letting those underlying hues show off. It’s like colour mixing on steroids, and the luminosity I achieve? Stunning.
By applying these layers, I can control how each pigment plays peekaboo with the viewer, enhancing the visual appeal like a magician revealing their best trick. The way these colours interact creates a delightful optical show, where each glaze alters how the colours underneath are perceived. Those subtle gradations? They soften edges and add a three-dimensional feel, while my carefully chosen transparent layers expand the tonal range—talk about nuanced and expressive!
Whether I’m using oils or acrylics, mastering this technique is like giving my canvas a makeover, transforming it from flat to a vibrant tapestry of colour and light. It’s basically like the artistic version of a glow-up!
4. Lifting Technique
The lifting technique is my secret weapon for fixing blunders or nailing those specific effects in watercolour painting. It’s all about removing or lightening areas of paint, and trust me, it requires a delicate touch and a keen understanding of how the paint flirts with the paper.
By strategically dampening the right spots, I get to dance with the pigment—think subtle highlights or bold corrections. This technique is like an eraser for my watercolour woes, and it adds some serious pizzazz to the overall composition, giving it that depth and dimension.
When done right, lifting can unveil hidden textures and colours, creating a dynamic relationship between layers. Plus, knowing the ins and outs of different paper types and their absorbency is like having the cheat code for achieving spectacular results that hit you right in the feels.
How to Create Different Textures with Watercolours?
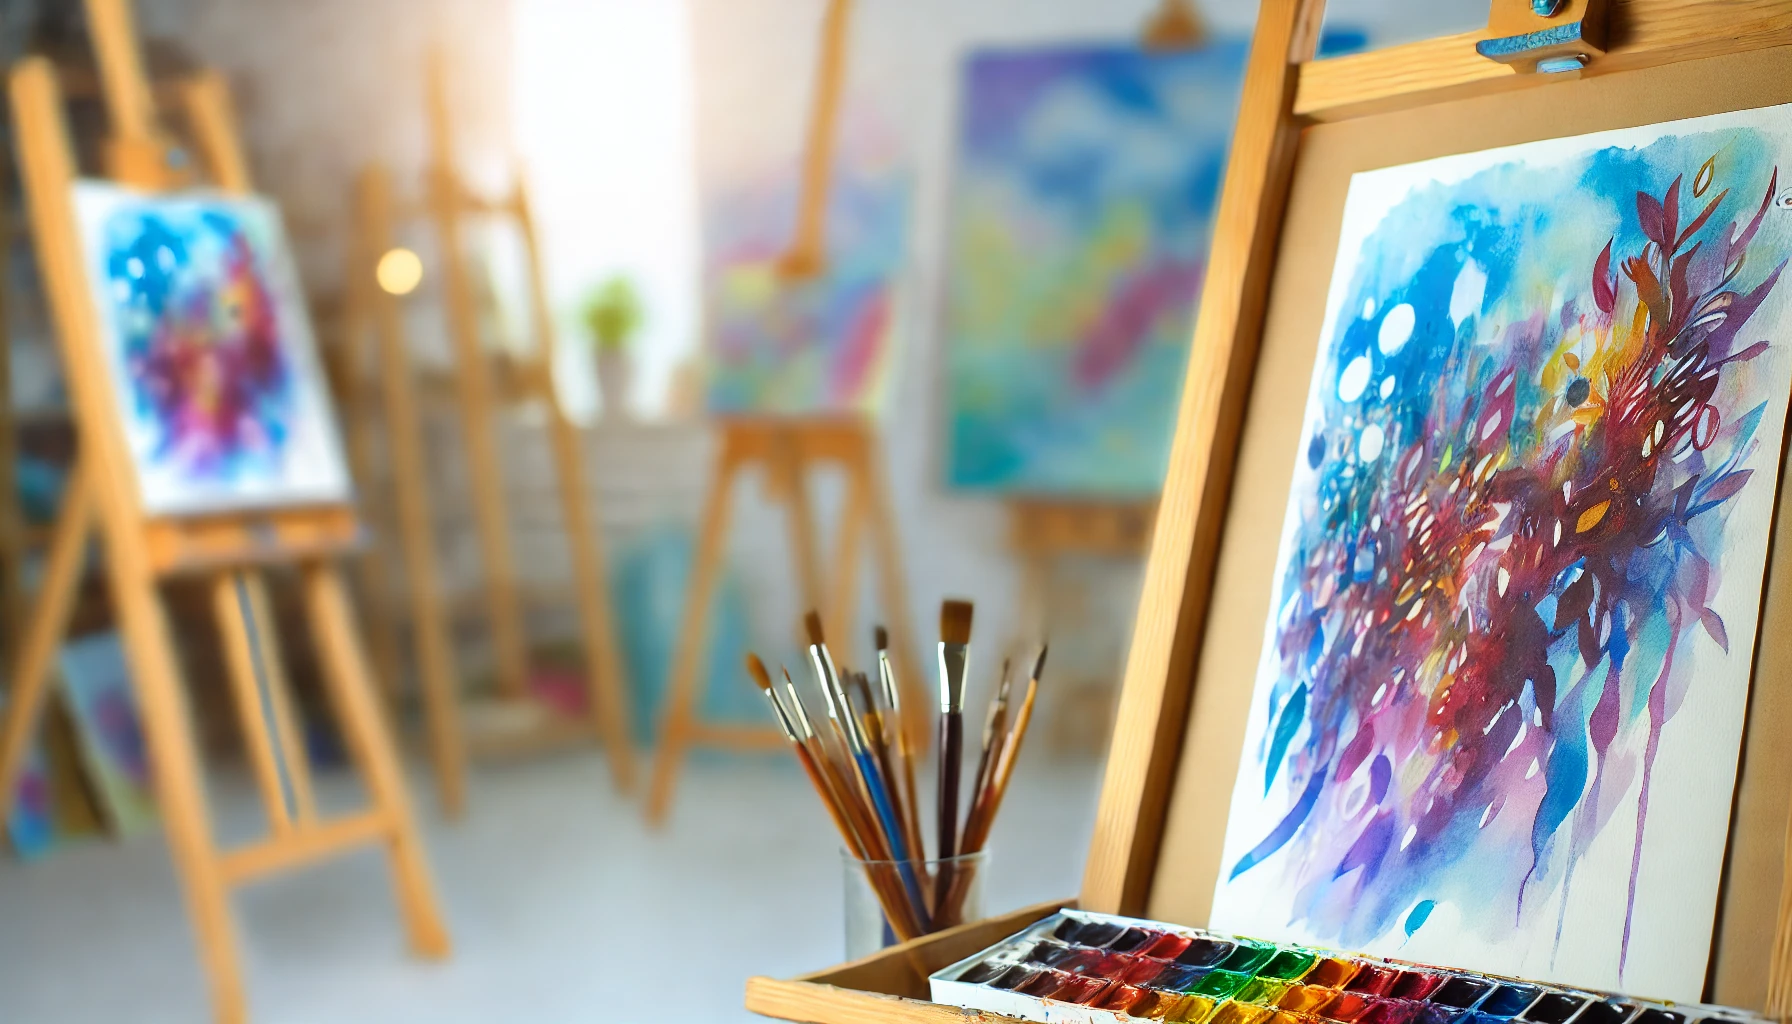
I love whipping up a storm of textures with watercolours—it’s like giving my artwork a personality makeover! Each technique I try adds depth and flair, turning my creative canvas into an exciting playground.
Who knew that something as simple as salt or cling film could unlock a treasure trove of artistic possibilities? It’s all about diving into the wild side of creativity and letting those experiments run free!
1. Salt Texture
The salt texture technique is like a magic trick for my wet paint—just sprinkle some salt on there and watch as it works its wonders, soaking up moisture and giving my artwork a quirky twist. It’s the perfect recipe for unexpected surprises and a reminder that moisture control is key in my creative escapades.
By getting the hang of this method, I can play around with different types of salt—coarse, finely ground, you name it—to see how each one dances with my watercolours. When I apply it just right, I can conjure up textures that remind me of far-off landscapes or organic shapes, adding depth and personality to my piece.
But here’s the kicker: finding that sweet spot between wetness and drying time is crucial. Too much moisture? Hello, muddiness! Too little? Goodbye, dynamic effects. With a sprinkle of patience, this salt texture technique can take my standard painting and turn it into a jaw-dropping visual fiesta.
2. Plastic Wrap Texture
Using cling film to create texture in watercolours? Now that’s my kind of fun! It’s like throwing a little party for my paint as it dries, resulting in all sorts of unique patterns and effects. This technique just screams artistic freedom, letting me throw caution to the wind and embrace the delightful chaos of my creative journey.
When I layer different colours under that cling film, it’s like I’m inviting a whole host of captivating results to the show. The way the watercolours interact with the film creates these intriguing textures that give the traditional painting process a fresh makeover. I’ve learned to let my creativity flow without those pesky self-imposed limits because spontaneity can lead to the most stunning surprises on my canvas.
So, I happily embrace the beauty of unpredictability, letting my colours mingle and dance beneath the film, revealing a vibrant tapestry that’s all about my unique expression.
3. Sponge Texture
Sponge texture is my secret weapon for adding that extra oomph to my watercolour paintings. It brings depth and variety like no other, allowing me to blend softly while creating those delightful, unique effects as the sponge dances with the paint. This technique is a game-changer for achieving natural textures in landscapes and floral masterpieces.
With a little pressure and some funky movements, I whip up organic patterns that capture the essence of nature’s beauty. Not only does this technique enhance the vibrancy of my colours, but it also delivers smooth transitions that bring my backgrounds and foregrounds to life.
And when I delve into other watercolour tricks like wet-on-wet or dry brushing, that trusty sponge becomes my go-to tool. It layers like a pro, mimicking the intricacies of clouds or the softness of petals. Seriously, if you’re looking to elevate your watercolour game, sponge texture is a must-try!
4. Splattering Technique
The splattering technique is my secret weapon for injecting some serious energy into my watercolour paintings. It’s like throwing a little party on the canvas, creating texture and effects that keep my artwork buzzing. With a trusty brush or even a toothbrush in hand, I can whip up a range of splatter effects that truly embrace the spontaneous spirit of creativity.
First things first: paint consistency is key. If I go for a thinner mix, I’m looking at delicate droplets; but if I want to unleash some serious chaos, a thicker consistency gives me those robust splatters that make a statement. I love experimenting with different brushes—flat, round, or even a fan brush—to play around with the size and spread of those splatters.
And let’s not forget the unconventional tools! Old sponges and even retired credit cards can add a fun twist to the textures on my canvas. It’s this wild dance of colours and forms that invites viewers to dive into the nuances of each splash, capturing that joyful spontaneity that makes painting such a joy.
How to Fix Mistakes in Watercolour Painting?
Mistakes in watercolour painting? Oh, they’re practically my co-pilots on this artistic journey! But knowing how to fix them? Now that’s the real magic trick.
With a toolbox full of correction techniques like lifting and glazing, I can transform those little oops moments into sparks of creativity. Who knew that a blunder could lead to a masterpiece?
Frequently Asked Questions
What materials do I need to start painting with watercolours?
To start painting with watercolours, you will need watercolour paper, watercolour paints, paintbrushes, a palette, and water. Optional materials include masking tape, a pencil, and a kneaded eraser.
How do I mix colours with watercolours?
To mix colours with watercolours, use a palette or a piece of wax paper as your mixing surface. Wet your paintbrush, pick up some colour from your watercolour cake, and mix it with water on your mixing surface. You can also mix colours directly on your paper by layering wet paint on top of a dry layer.
What techniques can I use when painting with watercolours?
There are many techniques you can use when painting with watercolours, including wet-on-wet, wet-on-dry, dry brush, and lifting. Experiment with different brushstrokes, layering, and using different amounts of water to achieve different effects.
How do I achieve a smooth wash of colour with watercolours?
To achieve a smooth wash of colour with watercolours, make sure your paper is stretched or taped down to prevent buckling. Wet your paper evenly with clean water, then pick up some diluted paint with a large brush and apply it in long, horizontal strokes. Let the paint dry completely before adding another layer.
How do I fix mistakes when painting with watercolours?
If you make a mistake while painting with watercolours, you can use a damp paper towel or a clean, damp brush to lift the paint off your paper. If the paint has already dried, you can try using a kneaded eraser to gently lift off the colour. Alternatively, you can paint over the mistake with a darker colour to cover it up.
Can I paint with watercolours on any type of paper?
While you can technically paint with watercolours on any type of paper, it is recommended to use watercolour paper for best results. Watercolour paper is specifically designed to hold up to the amount of water used in this medium, unlike regular paper which may buckle or tear. You can also try using mixed media paper, but avoid using printer paper or thin sketchbook paper.
