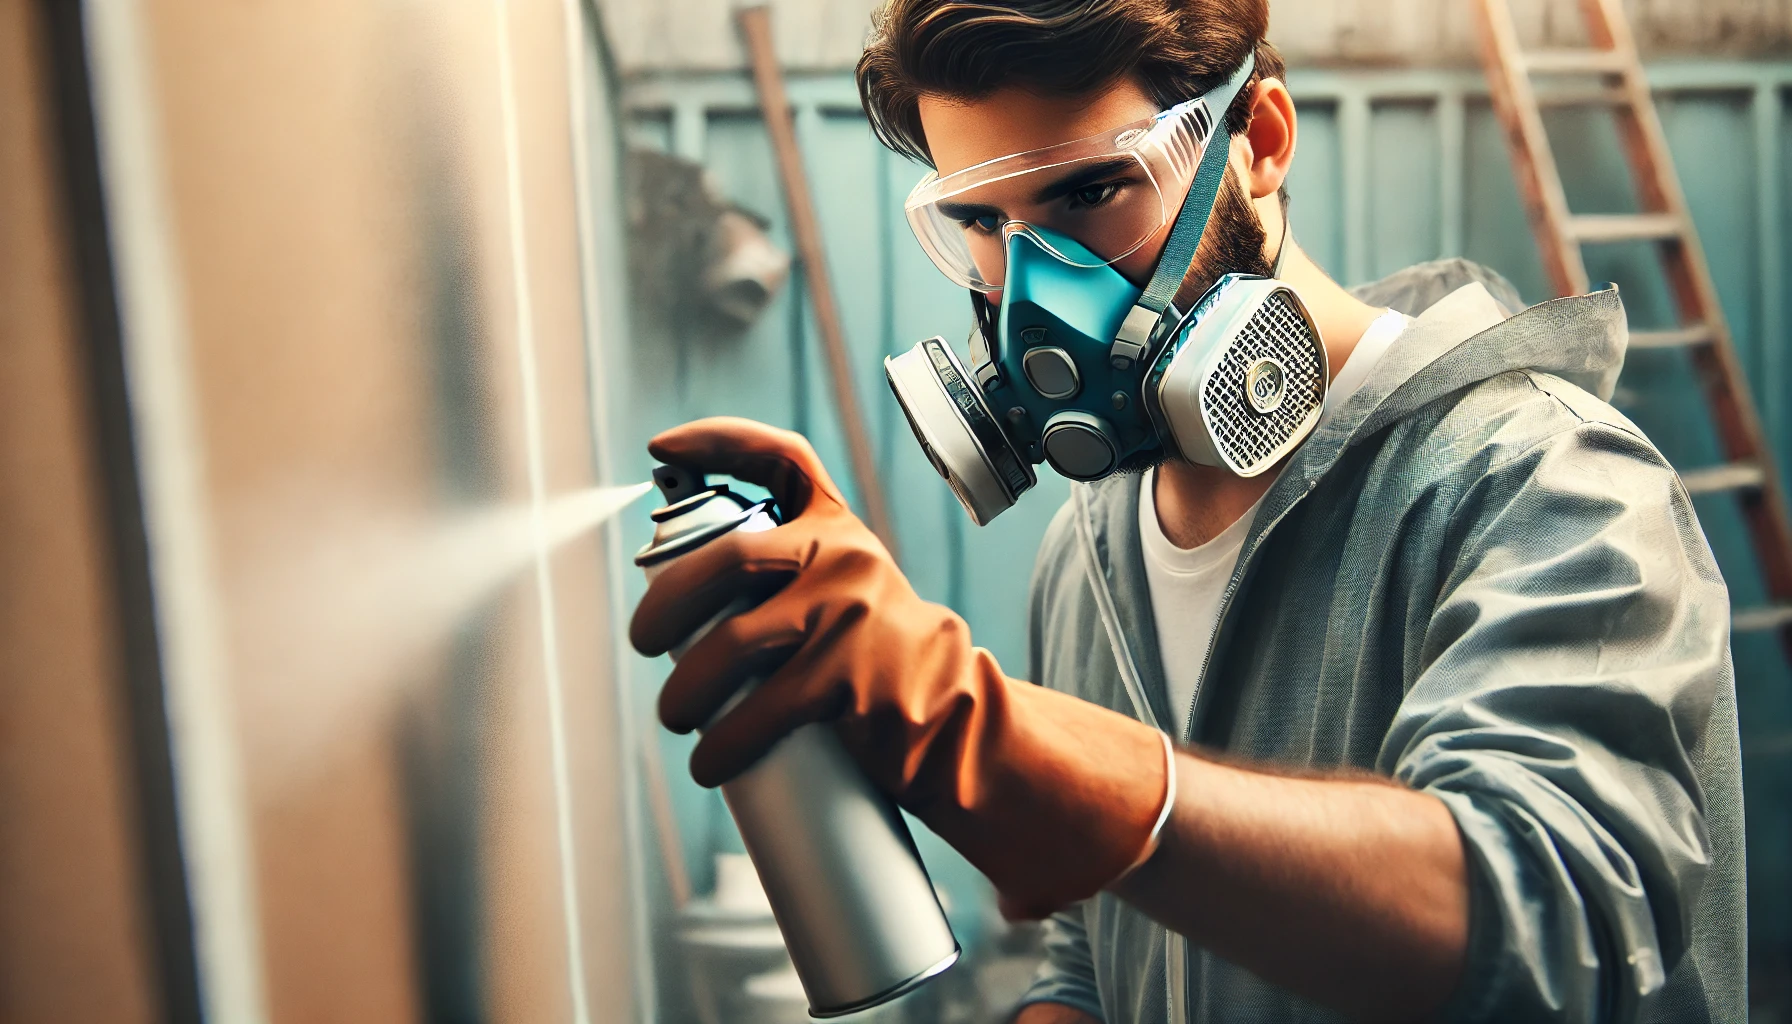
Spray painting is a versatile and efficient method for achieving a smooth, professional finish on various surfaces. Whether you’re a DIY enthusiast or a seasoned artist, understanding the nuances of different spray paint types—like oil-based, water-based, and acrylic—is essential for your projects.
This spray painting guide covers everything from selecting the right paint to preparing surfaces and mastering techniques for a flawless application.
Get ready to elevate your painting skills with useful tips and tricks!
What Is Spray Painting?
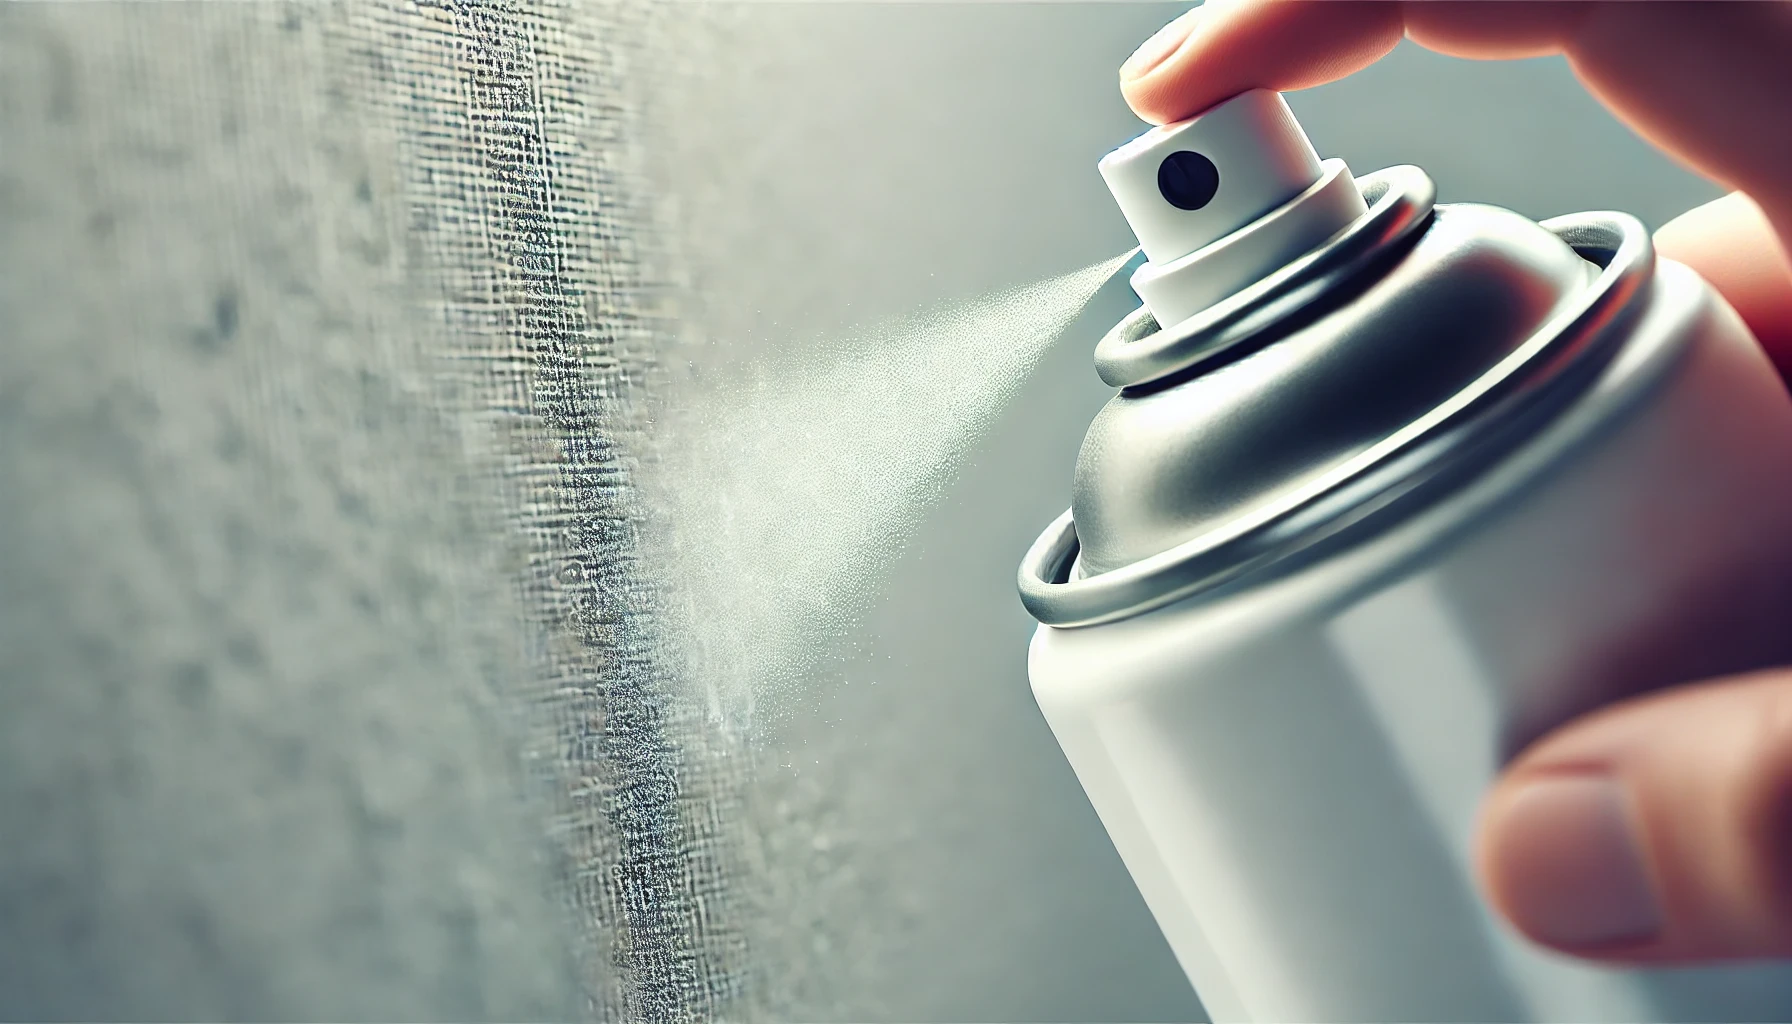
Spray painting is a remarkably versatile and dynamic art form, employing a spray mechanism—be it a compressor or an aerosol can—to apply paint to a myriad of surfaces. This technique opens the door to innovative artistic effects and flawless finishes, making it equally suited for indoor and outdoor projects.
Whether one finds themselves a DIY enthusiast eager to revamp their home decor or an artist venturing into the realm of new patterns, mastering the ins and outs of spray painting techniques and tools is crucial for achieving those coveted results.
In this guide, we shall delve into essential methods and tips designed to elevate one’s spray painting prowess to impressive new heights.
Types of Spray Paint
Grasping the various types of spray paint is essential for any endeavour, as each type boasts its own distinct properties, finishes, and preferred applications.
Consider oil-based paints, which offer remarkable durability and adhesion—perfect for those projects that demand resilience. Alternatively, water-based options present a quick-drying solution with a more pleasant scent, making them a less odorous choice for the discerning DIYer.
Then there are acrylic spray paints, which are lauded for their versatility and a veritable rainbow of vibrant colours. Understanding which paint type aligns with your project needs can be the key to transforming a good finish into a spectacular one.
1. Oil-based Spray Paint
Oil-based spray paint has earned its stripes as the heavyweight champion of durability and adhesion, making it the go-to choice for outdoor projects and surfaces that face a daily grind. With its glossy finish and impressive colour retention, this spray paint is practically begging for a long-term commitment. Not to mention, oil-based paints possess a remarkable knack for resisting water and other environmental challenges, boosting their lifespan, particularly in the face of Mother Nature’s temperamental moods.
This means that whether you’re sprucing up furniture, enhancing garden decor, or tackling those metal railings, choosing oil-based spray paint could be your ticket to a finish that confidently withstands the elements for years on end.
For optimal results, it’s crucial to start with clean, well-prepared surfaces; think of sanding rough areas or previous finishes as an invitation for better adhesion.
And let’s not forget about safety—when wielding oil-based sprays, be sure to work in a well-ventilated area to keep those fumes from crashing your paint party. A mask could also serve as an excellent plus-one for added protection.
By adhering to these guidelines, you’ll be well on your way to achieving a stunning, durable finish that stands the test of time—and perhaps even earns a few compliments along the way.
2. Water-based Spray Paint
Water-based spray paint has garnered quite the fan club, thanks to its user-friendly characteristics, rapid drying capabilities, and a commendable lower environmental impact. It has become the go-to choice for both DIY aficionados and seasoned professionals alike.
With its low odour and effortless cleanup using soap and water, it stands out as the ideal companion for indoor projects, particularly when it comes to home décor or furniture refinishing ventures. Of course, ensuring proper ventilation is paramount; after all, creativity should thrive in a safe environment.
The swift drying time not only accelerates project completion but also spares the more impatient crafters from enduring an agonising wait to admire their handiwork. Many opt for this eco-friendly alternative because it generally contains fewer volatile organic compounds (VOCs), thereby promoting healthier air quality.
The versatility of water-based spray paint is truly impressive, as it can gracefully adhere to a variety of surfaces, from wood to metal, enabling innovative transformations that breathe life into creative visions. Plus, for those ready to unleash a colourful onslaught, the ease of use is unparalleled.
A simple shake and spray can release a vibrant burst of colour onto any canvas, making artistry a delightful possibility for everyone.
3. Acrylic Spray Paint
Acrylic spray paint undoubtedly shines in the realm of art supplies, not just for its versatility but also for its dazzling array of colour options, earning it a coveted spot among both artists and crafters alike. This paint is like a magician’s wand, allowing for effortless colour mixing and layering, and enabling users to conjure up breathtaking artistic effects and bespoke colours. Once cured, acrylic spray paint becomes water-resistant, making it a splendid choice for both indoor masterpieces and outdoor escapades.
Artists often praise its quick-drying nature, which facilitates seamless blending and adjustments without the agonising waits that can stifle creativity. The assorted finishes—matte, glossy, or satin—offer choices for every artistic vision, providing unique textures and appearances that elevate the overall artwork.
Whether one is splashing vibrant hues across a street art mural or meticulously detailing a canvas, the adaptability of acrylic spray paint give the power tos creators to explore innovative techniques, bringing their artistic ideas to life in vivid colours and striking designs.
What Surfaces Can Be Spray Painted?
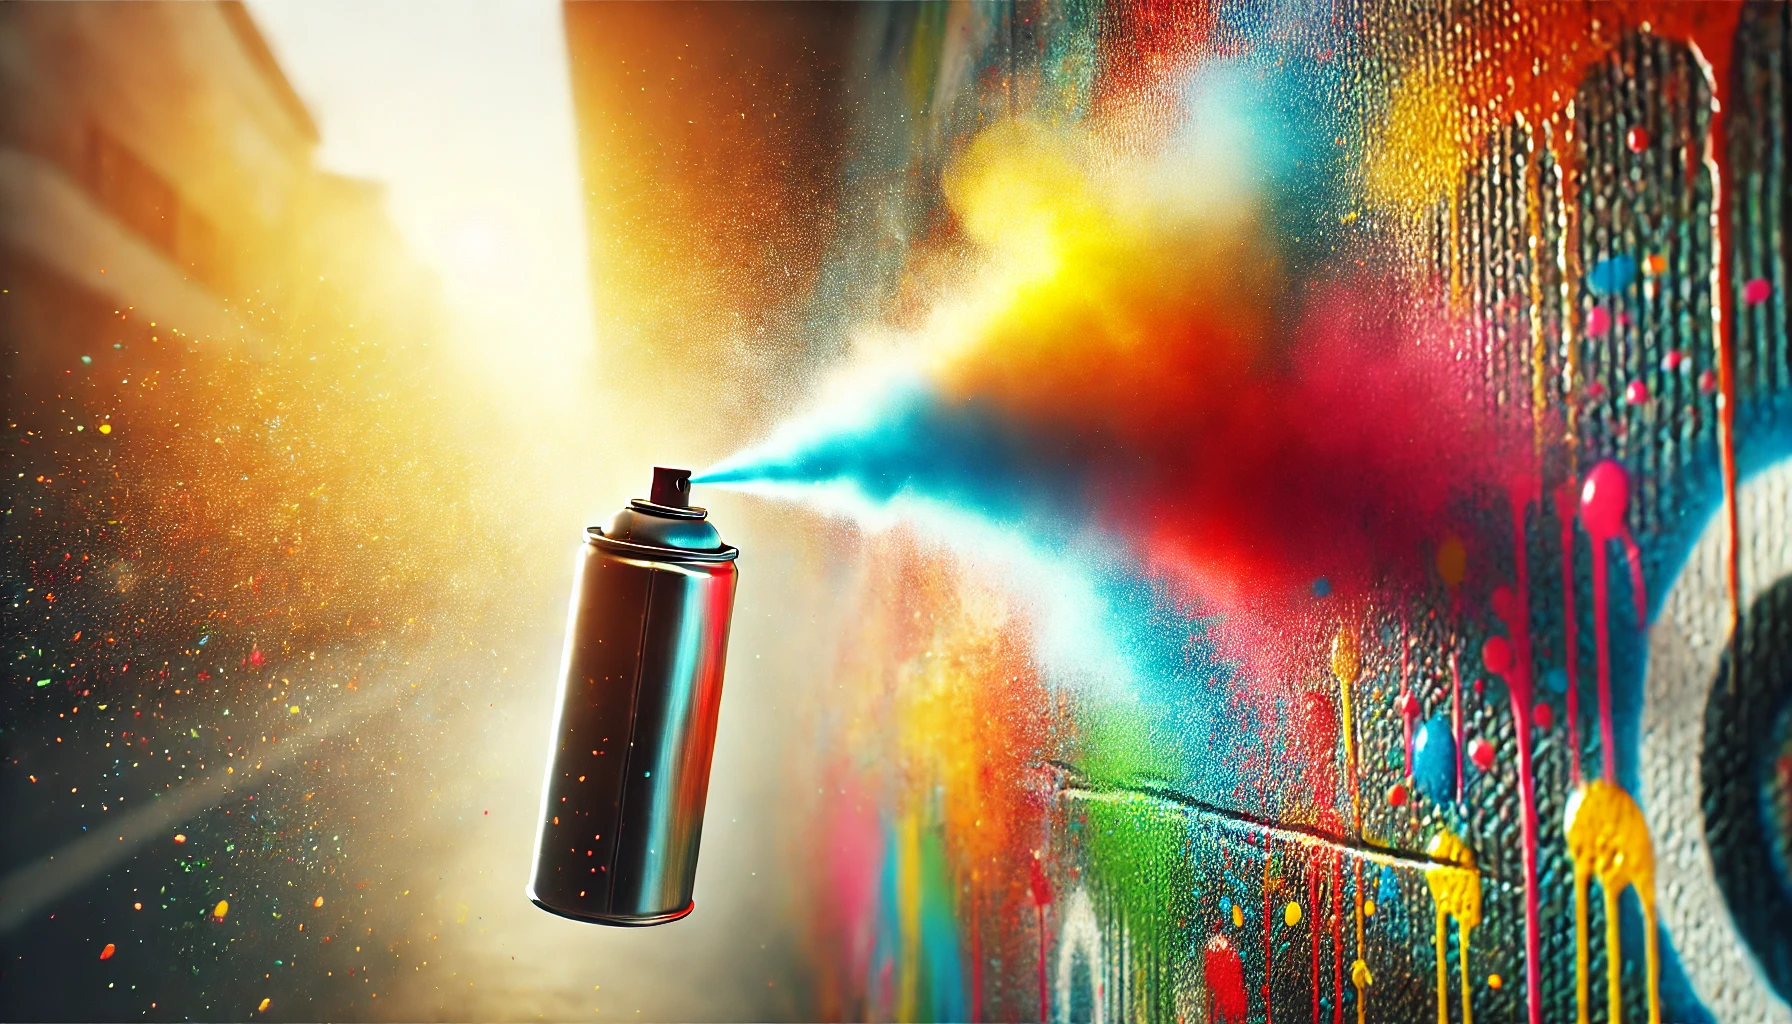
Spray painting is far from a one-trick pony; it can adorn a variety of surfaces, ranging from wood and metal to plastic and canvas. However, the secret to achieving that impeccable finish lies in the art of surface preparation and priming.
By understanding which surfaces harmonise best with different types of spray paint, one can truly unlock a realm of creative possibilities. Whether refinishing furniture or embarking on the adventure of spray paint art, proper surface knowledge is your reliable companion in this vibrant journey.
How to Prepare for Spray Painting?
Preparation is undoubtedly the cornerstone of successful spray painting, akin to setting the stage for a grand performance. Before embarking on this colourful adventure, one must select a well-ventilated area and arm oneself with the appropriate safety equipment, such as a respirator and protective gear—because who wants to inhale their masterpiece?
Moreover, ensuring that the surfaces to be painted are impeccably clean, dry, and primed is not merely a suggestion but a decree for achieving optimal paint adhesion and durability. After all, a smooth and professional finish is the true pièce de résistance of any painting endeavour!
1. Choose a Well-Ventilated Area
Selecting a well-ventilated area for spray painting is not just a suggestion—it’s a necessity. Proper airflow helps disperse those pesky harmful fumes, creating a safer haven for your creative endeavours. After all, who wants to be enveloped in a cloud of paint particles?
Poor ventilation can lead to an unwelcome accumulation of paint in the air, presenting serious health risks, particularly when dealing with oil-based or aerosol paints. Hence, a charming outdoor spot or a well-aerated room is your best bet to protect your health while channelling your inner Picasso.
Good ventilation does wonders beyond safety; it’s the unsung hero of achieving optimal paint quality. With fresh air circulating, your paint dries evenly, minimising the chances of unsightly drips or uneven finishes. This way, all your hard work culminates in a stunning piece worthy of admiration.
By reducing the concentration of harmful particles, you can immerse yourself in your artistic expression, blissfully free from the worry of inhaling toxic substances. So, before embarking on your masterpiece, take a moment to assess the ventilation in your workspace. Consider it a smart investment—not just in your health, but in the brilliance of your creation.
2. Protect Surrounding Surfaces
Before embarking on the colourful journey of spray painting, it is paramount to safeguard the surrounding surfaces. This proactive measure prevents unwanted overspray and ensures a pristine working environment. By employing dust sheets, masking tape, and stencils, one can effectively confine the paint to the designated areas, sidestepping any potential paint catastrophes that might mar both the project and its surroundings. A smidgen of preparation here translates to a mountain of saved cleanup later!
Implementing these techniques not only preserves the sanctity of your environment but also elevates the precision of your artistic endeavour. For example, strategically placing dust sheets on floors and furniture can catch those rebellious droplets that dare to stray, while masking tape serves as a vigilant guardian, marking off areas you wish to keep paint-free—think window frames and skirting boards.
Moreover, overlapping the edges of the masking tape just a tad can ensure that no paint manages to sneak underneath. For larger expanses, utilising cardboard or plastic sheeting can provide an additional fortress against wayward splatters. By taking these simple yet effective preparatory steps, the time and effort spent on post-painting cleanup will be drastically minimised, paving the way for a far more enjoyable painting experience.
3. Prepare the Surface to be Painted
Preparing the surface for painting is akin to laying the groundwork for a masterpiece; it’s a critical step in the spray painting process that can dramatically influence the final outcome. Proper surface preparation typically involves a bit of sanding to create a smooth texture and a dash of primer to enhance paint adhesion. Skipping this essential step is like attempting to bake a cake without preheating the oven—expect some rather unsavoury results, such as peeling paint or uneven finishes.
To kick things off, one must thoroughly clean the surface, banishing any dust, grease, or stubborn remnants of old paint that might dare interfere with adhesion. This initial cleanse ensures that the primer and paint have a strong bond with the surface, much like a good handshake at a job interview.
Next up is sanding, where the goal is to achieve that slightly roughened texture that beckons the paint to cling on for dear life. A quick wipe-down with a damp cloth afterwards ensures that no rogue particles are left lurking around, ready to ruin the show.
Finally, applying a suitable primer is absolutely essential; it not only prepares the surface but also acts as a diplomatic bridge between different materials, promoting a uniform and durable finish.
By diligently following these steps, the end result will radiate a professional quality that is both visually stunning and remarkably long-lasting—truly a sight to behold!
How to Spray Paint?
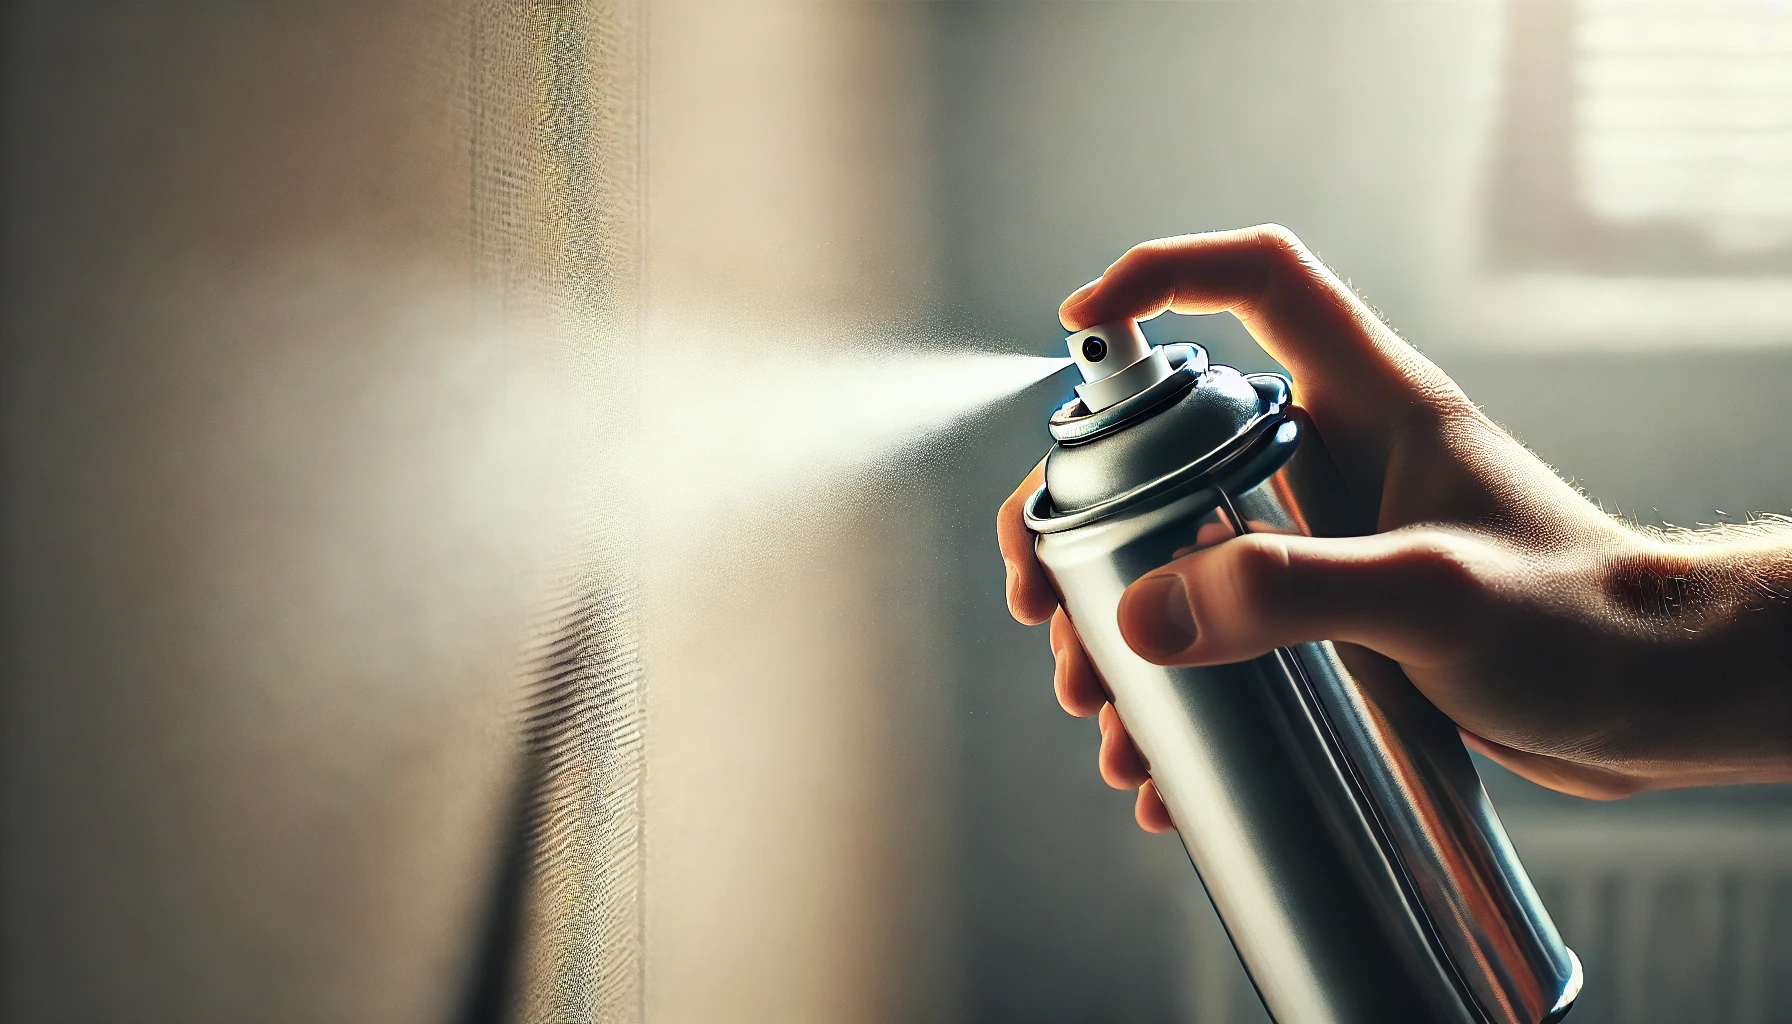
Spray painting might initially appear as a daunting task, but fear not—the mastery of this technique is merely a few straightforward steps away!
To ensure an even paint application, one should begin by thoroughly shaking the can, testing the spray pattern, and then embarking on the painting process with a steady hand. Opting for several thin coats instead of a single thick layer not only improves coverage but also reduces the risk of drips.
With this approach, even novices can achieve remarkable results that would impress even the most experienced artists.
1. Shake the Can Well
Shaking the spray paint tin thoroughly before use is not merely a suggestion; it is an essential ritual that ensures a consistent paint mixture and proper integration of all components. This seemingly trivial step is the guardian against clogging and uneven application, paving the way for clean spray patterns and vibrant finishes. Never underestimate the transformative power of a good shake—it’s the secret ingredient behind every triumph in the realm of spray-painted masterpieces.
By diligently mixing the paint within the tin, one enhances the overall performance of the spray paint, leading to a flawless and uniform application. This not only enriches the desired colour but also reduces the chances of unsightly bubbles or runs that could tarnish the final appearance. When the paint components blend harmoniously, the result is improved adhesion and durability, ensuring that the finished work can withstand the trials of time.
Therefore, taking a moment to shake that tin before plunging into a project can substantially elevate the quality of the artistic endeavour at hand. Embrace the shake; it’s the secret handshake of the spray-painting world!
2. Test the Spray Pattern
Before embarking on the grand endeavour of your painting masterpiece, a preliminary test of the spray pattern on a practice surface is essential. This seemingly trivial exercise ensures that your nozzle and pressure settings are finely tuned. A quick adjustment of distance and angle will prevent overspray and guarantee a smooth application when the time comes to tackle the actual project. Indeed, a little test can work wonders in perfecting one’s technique!
By dabbling with various nozzle sizes and tweaking the pressure settings, individuals can unearth the ideal combination tailored to their specific materials and project requirements. This essential evaluation not only promotes an even finish but also significantly reduces the risk of unsightly drips and streaks that could mar the overall aesthetic.
Regularly testing the spray pattern cultivates a more controlled environment, enabling one to discern how minor adjustments in technique can elevate results. This approach leads to a professionally polished outcome that truly showcases your dedication and creativity.
3. Start Painting
Once the area is prepared and the spray pattern has been tested, the stage is set for the artistic endeavour of painting. Hold the can approximately 15-30 centimetres from the surface, and apply smooth, even strokes to achieve a consistently delightful spray pattern. A gentle reminder: keep the can in constant motion to avoid those pesky drips and uneven spots—it’s all about finesse, after all!
To ensure optimal paint application, begin by engaging the nozzle with a light press and practise your rhythm before diving into the painting process. This strategic move grants better control over the spray width and aids in accurately covering the desired area.
As one embarks on this colourful journey, maintaining a steady pace is crucial; lingering too long in one spot can lead to unsightly paint pools that would make any perfectionist cringe. A slight adjustment in the can’s angle can work wonders for achieving an even coat, particularly on those tricky edges and corners.
Finally, always remain vigilant of your surroundings to prevent overspray and ensure a clean, polished finish worthy of admiration!
4. Apply Multiple Thin Coats
To achieve a flawless finish and a vibrant colour palette, applying multiple thin coats is the unequivocal strategy! This approach not only enhances paint coverage but also accelerates drying times, thereby minimising the dreaded drips or runs. Moreover, it grants one the delightful liberty to layer colours, creating a depth that ensures your project truly dazzles.
By embracing this method, an individual not only elevates the overall aesthetic appeal but also secures a more durable finish. Each layer gets a chance to bond more effectively with the surface, significantly prolonging the life of the paint job—a true win-win situation.
Thanks to the rapid drying of each coat, the entire process becomes remarkably efficient, leading to quicker project completion. This technique also greatly reduces the likelihood of imperfections and facilitates easy touch-ups, making it a savvy choice for both seasoned professionals and enthusiastic DIYers alike.
In essence, utilising multiple thin coats elevates the act of painting into an art form characterised by precision and quality—who knew home improvement could be so sophisticated?
Tips for a Professional Finish
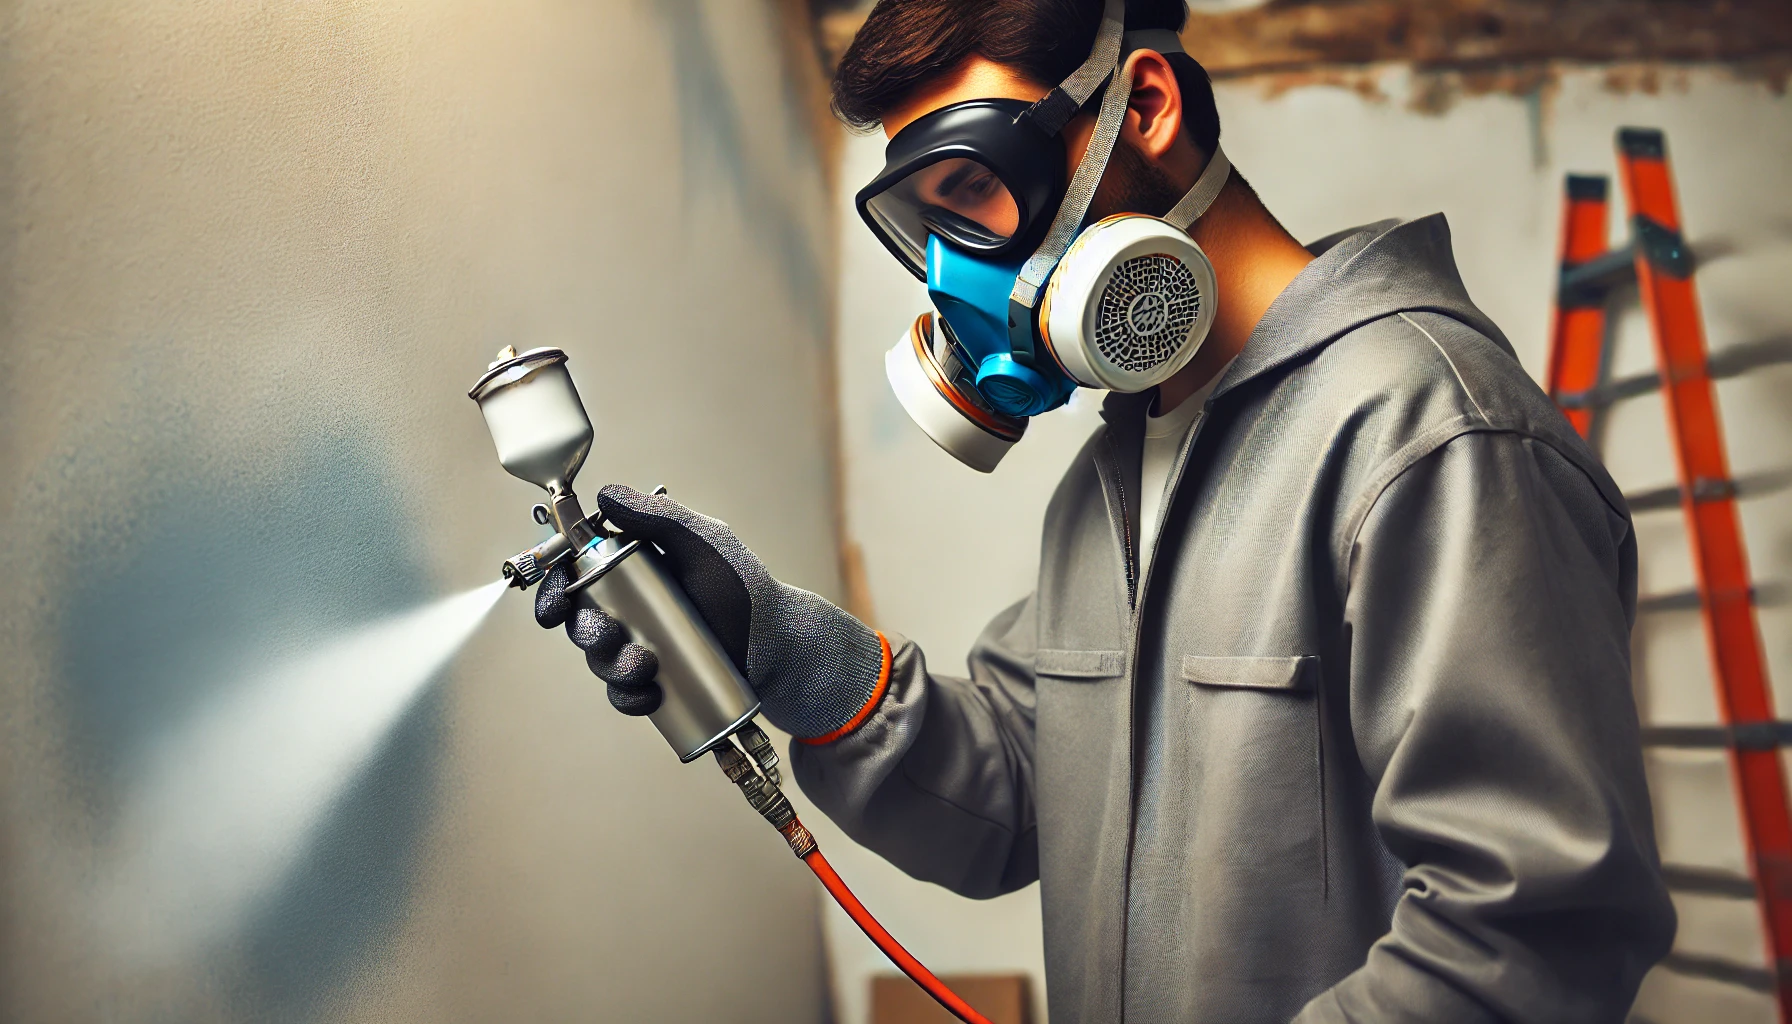
Achieving a professional finish with spray painting transcends mere technique; it involves a repertoire of clever tips and tricks that can elevate one’s project from ordinary to extraordinary.
For instance, using a primer not only enhances paint adhesion but also sets the stage for a flawless application. Sanding between coats? Ah, that’s the secret ingredient to achieving a silky-smooth texture that even the finest silk would envy.
And let us not overlook the importance of proper cleaning—it’s essential for preserving both tools and workspace, ensuring that the next masterpiece is just a spray away!
1. Use a Primer
Employing a primer can truly revolutionise the art of spray painting, as it significantly enhances adhesion and ensures a smoother application. A quality primer diligently prepares the surface by filling in imperfections and establishing a uniform base for the paint to cling to, ultimately resulting in a durable finish that stands resilient against the ravages of time.
Think of it as a sophisticated barrier that prevents the underlying surface from engaging in unsightly reactions with the paint, which could lead to unwelcome discolouration or bubbling—definitely not the look one aims for. By committing to this essential step, one not only elevates the overall aesthetics but also secures greater longevity for the paint job. The right primer can even reduce the number of paint coats required, effectively saving both time and resources.
For anyone aspiring to achieve professional-quality results, the importance of proper surface preparation cannot be overstated; it lays the groundwork for an impeccable finish that even the most discerning eye would admire.
2. Sand Between Coats
Sanding between coats of spray paint is not merely a suggestion; it is an imperative step in the quest for that elusive smooth texture and impeccable finish. This technique effectively eliminates imperfections and promotes better adhesion for subsequent layers, ensuring a harmonious consistency throughout the project. If a professional look is your end goal, skipping this step would be akin to a chef neglecting to season their dish.
For this endeavour, it is advisable to wield a fine-grit sandpaper, such as 220 or 320 grit. This choice delicately scuffs the surface without inflicting damage on the underlying paint—think of it as a gentle spa treatment for your project.
By sanding lightly, one can bid farewell to pesky dust particles, unsightly brush strokes, or runs—common nuisances that tend to intrude during the painting process. Following this, a meticulous cleaning of the surface is essential to eliminate any remaining debris, thus ensuring superior adhesion.
Ultimately, this technique not only elevates the overall aesthetic but also enhances durability, delivering long-lasting satisfaction with the paint’s final appearance and performance. After all, a well-finished project deserves nothing less than a standing ovation!
3. Use Proper Technique
Utilising proper techniques in spray painting is not just advisable; it is essential for achieving those coveted artistic effects and a professional finish that would make even the most discerning critics nod in approval.
When an artist skillfully navigates the nuances of techniques like layering, colour mixing, and spray pattern control, they transcend mere paint application to produce a multidimensional masterpiece. These skills enhance aesthetic appeal while also contributing to the artwork’s longevity and durability—because who wants their art to fade faster than a poorly made diet soft drink?
Understanding how different surfaces interact with spray paint leads to better outcomes, whether one desires crisp lines that command attention or soft gradients that whisper elegance. The right tools can make all the difference, elevating a piece from a hobbyist’s experiment to a true work of art.
This mastery not only unlocks a treasure trove of creative possibilities but also ensures that each project vibrates with a distinct voice, leaving a lasting impression that is anything but ordinary.
4. Clean Up Properly
Proper cleanup after spray painting is not merely a mundane chore; it is, in fact, a vital step in maintaining your workspace and prolonging the lifespan of your tools and materials. By ensuring that leftover paint is stored correctly and that used supplies are disposed of responsibly, one can save both time and money for the next creative endeavour. A tidy workspace not only fosters creativity but also acts as a formidable barrier against potential paint disasters waiting to happen!
Investing a bit of time to organise painting supplies and promptly clean surfaces can significantly enhance safety by minimising hazards—because no one wants to slip on a rogue paintbrush! Regarding storing leftover paint, it’s wise to seal containers tightly and label them with precision for easy identification later; after all, a well-labelled container is a happy container.
As for disposing of brushes, spray cans, and other materials, following local regulations is paramount to avoid causing environmental harm. Establishing a dedicated cleanup area can streamline the process, transforming it into an efficient and even enjoyable task. These seemingly small steps are essential for preserving not only the quality of future projects but also the integrity of your workspace.
Frequently Asked Questions
What is a spray painting guide and why is it important?
A spray painting guide is a comprehensive set of instructions and tips for using spray paint effectively. It is important because it can help achieve professional-looking results, prevent common mistakes, and ensure safety during the spray painting process.
What are the benefits of using a spray painting guide?
Using a spray painting guide can help improve the quality of your finished project, save time and money, and reduce frustration and mistakes. It can also help you learn new techniques and improve your overall spray painting skills.
Is a spray painting guide suitable for beginners?
Yes, a spray painting guide is suitable for beginners as it provides step-by-step instructions and helpful tips for getting started with spray painting. It is a great resource for learning the basics and building a foundation for more advanced techniques.
What are some common mistakes that can be avoided with a spray painting guide?
Some common mistakes that can be avoided with a spray painting guide include overspraying, uneven coats, clogged nozzles, and drips and runs. The guide can provide tips on how to prevent these mistakes and achieve a smooth and professional finish.
Are there any safety precautions to keep in mind when following a spray painting guide?
Yes, safety is an important aspect of spray painting and the guide should include information on how to properly handle and store spray paint, use protective gear, and avoid inhaling harmful fumes. It is important to follow these precautions to ensure a safe and successful project.
Can a spray painting guide be used for all types of surfaces?
While most spray painting guides cover a wide range of surfaces, it is important to check for specific instructions or tips for the surface you will be painting. Some surfaces may require different techniques or products, so it is best to consult the guide for the best results.
